Key Takeaways
The right visual style starts with the song, not the generator. Use the mood, structure, audience, and delivery format to guide each creative choice.
- Define the song’s emotional center before writing visual prompts.
- Match cinematic, animated, abstract, performance, or lyric visuals to the music.
- Choose a format that fits the platform where people will watch.
- Test short clips for continuity, motion, and audio timing before full production.
- Keep prompts specific enough to repeat the same visual language across scenes.
1. Start with the song’s creative brief
Your creative brief gives the video a clear direction before any scene is generated. Write down what the song feels like, what it says, and what should stay with the viewer. This step prevents attractive but unrelated visuals from taking over the project. For a useful starting point, compare your plan with this visual style guide.
Define the emotion and message
Name the primary feeling in plain language: restless, intimate, euphoric, lonely, playful, or defiant. Then explain what causes that feeling in the song, whether it comes from the lyrics, vocal delivery, harmony, or rhythm. A visual style works best when it gives that feeling a consistent shape through color, movement, and setting.
Identify the genre, tempo, and energy
Genre gives you a starting vocabulary, but tempo tells you how quickly the video should move. A slow R&B track may suit close framing, soft shadows, and longer shots, while an energetic electronic track may need sharper cuts and repeated motion. Listen for changes between verse, chorus, bridge, and outro instead of assigning one pace to the entire track.
Decide what viewers should remember
Choose one memorable visual idea rather than ten unrelated ones. It might be a character walking through a flooded city, a singer under changing colored lights, or a single object that appears at every chorus. One strong visual anchor gives the video recognition even when individual shots vary.
Set visual references without copying another artist
Reference qualities, not a living artist’s identity. Describe film grain, lens distance, shadow density, wardrobe shape, color temperature, or animation technique instead of asking for an exact imitation. You can also use a production workflow such as an AI content workflow to organize references, prompts, reviews, and revisions without turning the video into a copy.
2. Match the visual style to the music
The song should decide how much realism, design, and motion your video needs. A lyric-heavy ballad does not need the same treatment as a percussion-led club track. Start with the format that supports the music’s strongest quality, then add secondary elements only when they serve the arrangement.
Use cinematic visuals for story-driven songs
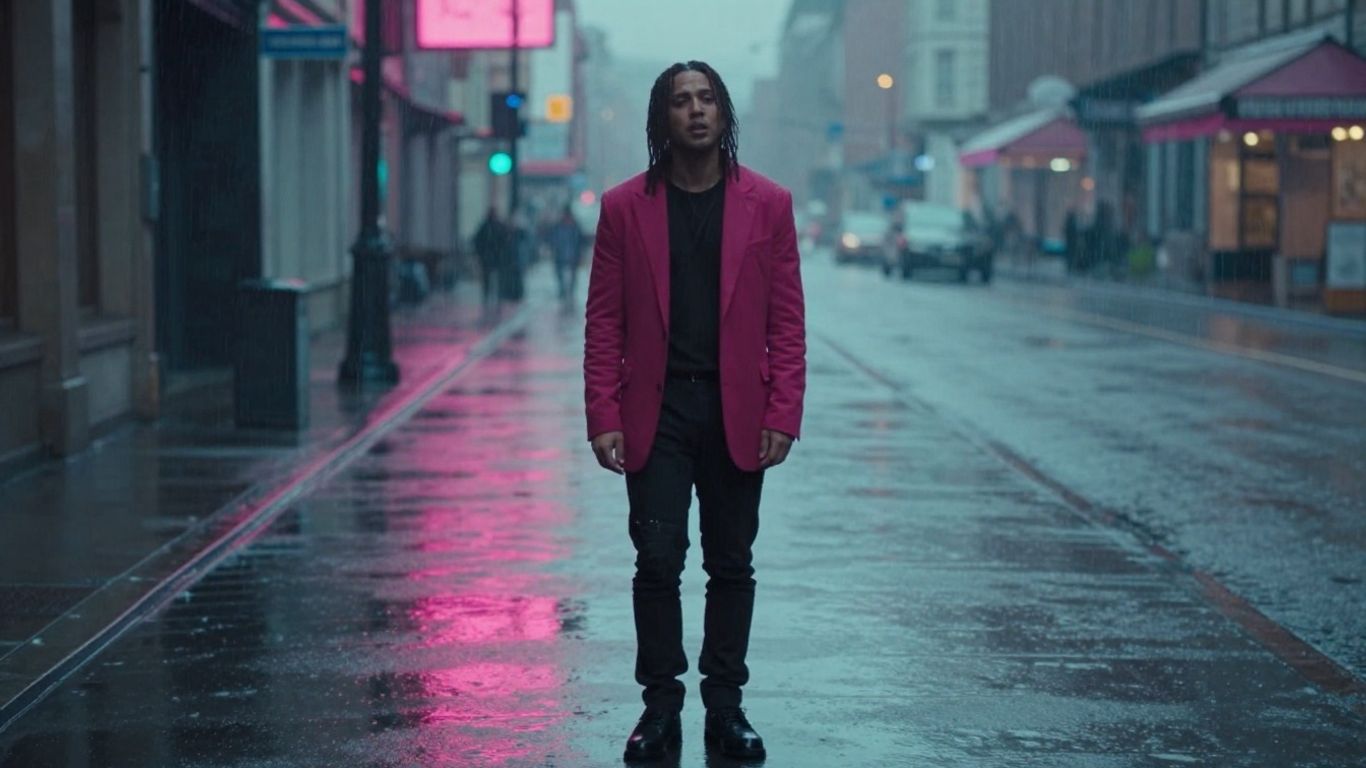
Cinematic visuals suit songs with a clear conflict, journey, or change in perspective. Use locations, lighting shifts, and camera distance to give the viewer a sense of time and consequence. A wide shot can establish isolation, while a close shot can make a lyric feel personal.
Choose animation for imaginative or stylized tracks
Animation gives you control over shapes, scale, physics, and color in ways that live-action realism may not. It suits playful pop, fantasy themes, children’s music, and songs built around unusual images. Set rules for line weight, character proportions, background detail, and motion so the style holds together across scenes.
Use abstract visuals for instrumental and electronic music
Abstract visuals work when texture, rhythm, and tone matter more than a literal plot. Try fluid forms, geometric patterns, light trails, particles, or shifting environments that respond to changes in the arrangement. This abstract visual guide can help you select motifs and match their movement to the track without forcing lyrics into every shot.
Consider performance visuals for vocal-led songs
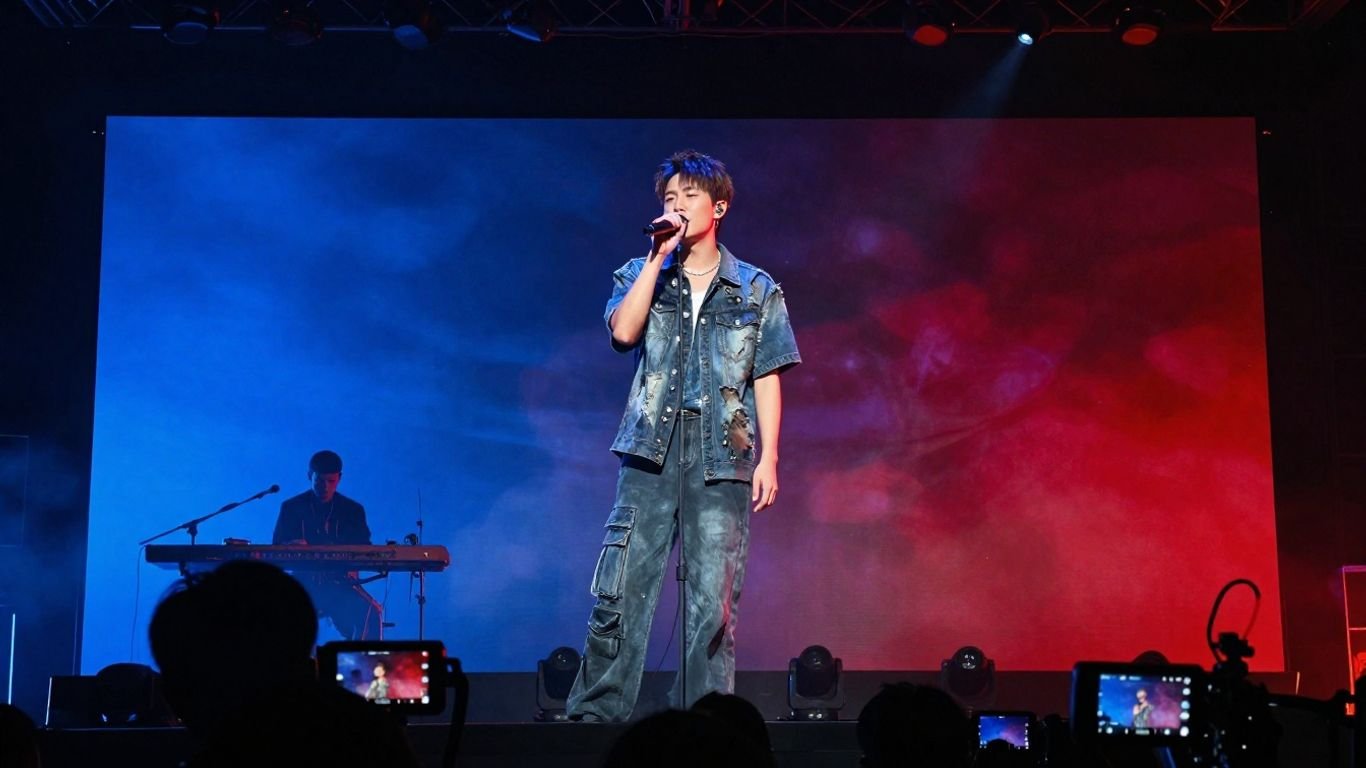
Performance visuals place the singer, character, or band at the center of the frame. They are useful when vocal presence is the main reason people connect with the song. You can vary the stage, lighting, wardrobe, and camera direction while keeping the performer recognizable.
For adult projects, Animator Hub is documented as an uncensored AI video and image studio for adult creators. Keep the subject, age, and intended audience clear in your own production notes, and use only material you have the right to publish.
Add lyric-focused visuals when the words carry the message
Lyric-focused videos give the words a visual role through typography, captions, or scenes built around key lines. Keep text short enough to read at the chosen playback speed, and leave generous margins around it. The lyric treatment should support the vocal rather than compete with it.
3. Choose between narrative, performance, and audio-reactive formats
These three formats solve different creative problems. Narrative gives the viewer events to follow, performance gives them a person to watch, and audio-reactive design gives the music a visible pulse. You can choose one dominant format or combine them around the song’s structural changes.
Build a narrative around characters, places, or events
A narrative video needs a simple through-line that survives short generated clips. Give the main character a goal, a location a visual identity, and each section of the song a clear role in the story. Avoid adding a new character or setting every few seconds unless the confusion is part of the concept.
Use performance concepts to center the singer or artist
Performance videos work when the artist’s presence carries the emotional weight. Decide whether the camera stays intimate, moves around a stage, or follows the performer through a location. Repeated gestures and controlled changes in lighting can make a short performance feel intentional rather than repetitive.
Use beat-synced motion to emphasize rhythm and production
Audio-reactive motion can make bass hits, hi-hats, and transitions visible without requiring a literal storyline. Choose a small set of triggers, such as scale changes on the kick or color shifts at the chorus. Too many reactions make every moment equally loud, which weakens the song’s peaks.
Combine formats when the song changes significantly
A verse may use narrative scenes, the chorus may shift to performance, and an instrumental break may move into abstract motion. Make the transitions understandable through a shared color palette, recurring prop, or camera direction. For more visual references, this guide to audio-reactive visuals fits naturally beside your format planning.
4. Align the style with your audience and platform
A strong concept can lose impact when it is framed for the wrong screen. Decide where the first version will appear before you generate shots, because composition and pacing change with the aspect ratio. Your audience also affects how quickly the idea must become clear.
Adapt composition for 9:16 vertical video
Vertical video favors one clear subject placed near the center of the tall frame. Use close and medium shots more often, and avoid important action at the extreme left or right edges. This format works well for TikTok, Instagram Reels, and YouTube Shorts.
Use 1:1 square framing for social feeds
Square framing gives you less vertical height but more balance between subject and background. It suits portraits, cover-art motion, and compact performance setups. Keep faces, hands, and short captions inside a central area that will remain visible in feed previews.
Reserve 16:9 layouts for YouTube and widescreen viewing
Widescreen supports landscapes, group performances, moving vehicles, and cinematic blocking. It gives camera movement more room to breathe, though distant subjects may lose detail on mobile screens. Compose for the full frame while checking that the main action still reads when reduced.
Adjust pacing for short-form discovery
Short-form viewers need a visual reason to continue within the opening seconds. Start with a strong image, recognizable motion, or a clear performance beat instead of a long establishing shot. Then let the pace vary so the video does not feel like a constant stream of cuts.
Keep key subjects and text inside safe areas
Platform interfaces can cover the edges of your video with buttons, captions, and account details. Keep faces, logos, and lyrics away from those zones, then check the export on an actual phone. The same rule applies when you repurpose a horizontal video for a vertical crop.
5. Evaluate visual styles by production requirements
The prettiest reference is not always the most practical one to produce. Compare each style by how well it repeats, how much detail it demands, and how much cleanup you can handle. A simple style with stable characters often looks better than a complex style that changes identity between shots.
Compare consistency, detail, and generation speed
List the traits that must remain stable, such as face shape, clothing, location, lighting, and motion quality. Then decide which traits can change between sections. Animator Hub is documented as a no-limits AI video and image studio for adult creators, so adult projects should still define their own continuity rules before generation.
Plan for recurring characters and locations
Create a short reference description for every recurring subject. Include age, body type, hair, wardrobe, accessories, and distinctive posture, then repeat the same terms in later prompts. Locations need similar treatment: note architecture, time of day, weather, and the objects that should remain in view.
Account for transitions, camera movement, and scene changes
A sequence can fail even when each individual shot looks good. Check whether the camera direction, screen position, and light source make sense from one clip to the next. Use fewer transition types and reserve the most noticeable movement for section changes in the song.
Identify where AI artifacts could distract viewers
Hands, faces, jewelry, crowds, reflective surfaces, and fast camera movement often need extra review. Watch at normal speed first, then pause at key frames to find warping or sudden identity changes. If an artifact pulls attention away from the lyric or beat, simplify the shot instead of adding more prompt detail.
Decide how much manual editing the project can support
Your editing plan affects the visual style from the beginning. If you only have time for trimming and arranging, choose stable clips with simple transitions. If you can review frame by frame, correct timing, and replace weak shots, you can take on more ambitious movement and scene changes.
A useful production comparison looks like this:
| Visual approach | Main strength | Main risk | Best fit |
|---|---|---|---|
| Cinematic narrative | Clear story and atmosphere | Character continuity | Story-driven songs |
| Stylized animation | Strong design control | Inconsistent details | Imaginative tracks |
| Abstract motion | Fast response to rhythm | Weak emotional anchor | Instrumentals and electronic music |
| Performance | Direct artist connection | Repetitive staging | Vocal-led songs |
The table is not a ranking. It helps you match the amount of production work to the role visuals need to play in the song.
6. Turn the selected style into an effective AI prompt
A good prompt reads like a compact direction sheet. It tells the generator what appears in the shot, where it happens, how it feels, and how the camera moves. Keep the language consistent across scenes so the video develops one recognizable visual identity.
Describe the subject, setting, mood, and visual treatment
Start with the subject and action, then add the location, time, mood, and style. For example, describe a singer standing in a rain-soaked parking structure at night, with restrained movement and soft neon reflections. This is more useful than a string of broad adjectives with no subject or action.
Specify color, lighting, texture, and camera direction
Name a limited palette and a clear light source. Add texture such as fine film grain, wet concrete, painted paper, or polished metal, then give the camera a direction: slow push-in, low tracking shot, overhead rotation, or locked close-up. Concrete details make revisions easier because you know what to change.
Define movement that follows the song’s energy
Match motion to musical structure rather than treating every shot the same. Use restrained gestures and slow camera movement in verses, then allow broader movement, faster cuts, or larger environmental changes in choruses. This music video prompt guide offers a useful reference for tying tempo, mood, and movement together.
Use a consistent style vocabulary across scenes
Choose a small group of repeated terms for lens, palette, lighting, texture, and animation or photographic treatment. Keep those terms in a shared prompt template, changing only the subject action and location details for each shot. Consistency often comes from repetition, not from a longer prompt.
Avoid vague prompts and conflicting instructions
Words such as beautiful, epic, and professional do not tell the generator what to place in the frame. Replace them with visible details and remove instructions that fight each other, such as handheld camera and perfectly locked composition. Review the prompt after every failed test and change one variable at a time.
For an adult character project, Animator Hub’s AI Lover is documented as a companion-level AI character experience with short video clips generated from a character reference image and a user prompt. That makes reference-image planning relevant, but you still need to check identity, consent, and the intended audience before publishing.
7. Test, refine, and export the final music video
Do not produce the entire video before you know the style works in motion. A short test reveals whether the subject remains stable, whether the pacing matches the track, and whether the chosen format preserves the important details. Treat the test as a decision point, not as a miniature final release.
Generate a short visual test before producing the full video
Choose one verse and one chorus, then generate a few representative shots. Include the hardest elements, such as a recurring character, a complex location, or a major camera move. If those scenes hold together, the rest of the production has a clearer path.
Check synchronization with the MP3 or WAV track
Use the actual audio file you plan to publish, whether it is MP3 or WAV. Check chorus entrances, beat changes, vocal phrases, and the final cutoff rather than relying on a general sense of timing. A visual that is attractive but late by a fraction of a beat can feel strangely disconnected.
Review continuity across verses, choruses, and bridges
Watch the full cut without pausing, then review each section separately. Look for changes in face, clothing, weather, location geometry, and light direction. A repeated visual detail can connect distant scenes, while an intentional shift can mark the bridge or final chorus.
Compare alternate styles against the original creative brief
Put the first style beside one or two alternatives and ask which one serves the emotion and message more clearly. Do not choose only because one frame looks impressive. The best option should remain readable across the full song and still make sense for the intended audience.
Export the finished video in the correct aspect ratio
Prepare the final version for its destination: 9:16 vertical, 1:1 square, or 16:9 horizontal. Check the crop, captions, audio start, audio end, and any visible watermark before you upload. If you plan to publish in several formats, review each version separately rather than trusting an automatic crop.
A compact final check can keep the last review focused:
- Does the first few seconds establish the visual idea?
- Do the strongest changes land with the song’s structure?
- Do recurring subjects and locations remain recognizable?
- Is every important face, action, and lyric inside the safe area?
Run this check on a phone as well as a larger screen. Small problems become easier to spot when you view the video in the same conditions as your audience.
CTA: Start Your Video
When your song and visual direction are ready, try the music video generator to turn a text prompt or your own track into a shareable singing-character video in a selected format.
Conclusion
Choosing a visual style becomes much easier when you begin with the song’s emotion, structure, and audience, then test that direction in a short clip before committing to the full edit. Keep the visual language consistent, match movement to the music, and export for the screen where people will actually watch.
Frequently Asked Questions
What is the best visual style for an AI music video?
There is no single best style. Choose cinematic visuals for a story, animation for stylized ideas, abstract motion for instrumental tracks, performance for singer-led songs, and lyric-focused design when the words need to lead.
Should the visuals match the song genre exactly?
Genre can guide your first idea, but it should not limit you. Tempo, lyrics, vocal tone, and emotional direction often tell you more about the right color, pacing, and movement.
Which aspect ratio should you use for a music video?
Use 9:16 for TikTok, Reels, and Shorts, 1:1 for square social feeds, and 16:9 for YouTube or widescreen viewing. Choose the main platform first, then adapt other versions from that composition.
How many visual styles should you test?
Test one primary direction and one or two credible alternatives. More options can slow the decision, while a small comparison shows whether the original brief still guides the work.
How do you keep AI-generated characters consistent?
Repeat a detailed character description and reference image across prompts. Keep clothing, hair, age, body shape, lighting, and camera distance stable unless the change has a clear story purpose.
Should you use lyrics in the video?
Use lyrics when the words carry the main message or when the video will appear in sound-off feeds. Keep captions brief, readable, and inside safe areas so they do not cover the main subject.
How long should the first visual test be?
A test covering part of a verse and chorus is usually enough to assess style, continuity, pacing, and synchronization. Include the most difficult scene rather than testing only simple shots.