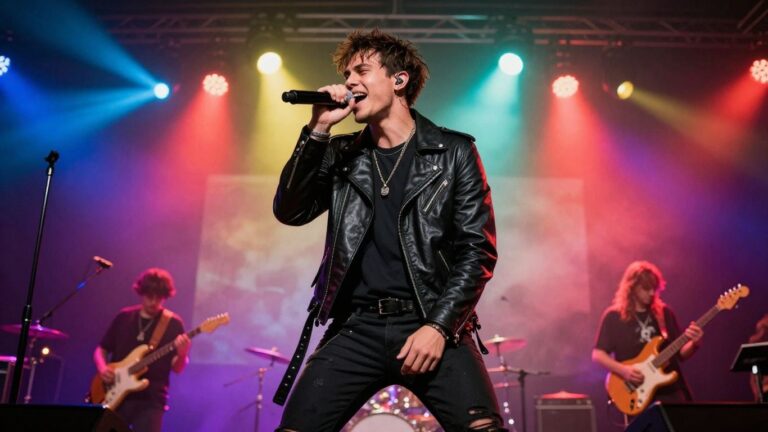
Key Takeaways
Choose your aspect ratio before you generate scenes, because the frame changes how every subject, lyric, and transition must be placed.
- Use 9:16 for full-screen vertical viewing on short-form platforms.
- Use 1:1 when a square post needs balanced composition in a feed.
- Use 16:9 for widescreen playback on YouTube, websites, and television screens.
- Prepare the song, visual direction, safe areas, and export settings before generation.
- Review every version after reframing instead of trusting an automatic crop.
Understand the three core AI music video formats
Aspect ratio controls the shape of the frame, not the quality of the music or video by itself. The complete guide to ai music video formats starts with a simple decision: where will people watch, and what must remain visible? Once you answer that, you can plan shots that feel intentional rather than squeezed into a late export.
What 9:16 means for vertical short-form video
A 9:16 video is taller than it is wide, matching the way people hold a phone. It gives a singer, dancer, portrait, or central character room to fill the screen, but it leaves less space for wide group scenes and long captions. Keep the main action near the center and check how platform controls may cover the lower and upper edges.
Vertical video benefits from close framing and clear movement. A face, microphone, or lyric line can read quickly when the subject occupies much of the frame, while distant scenery may lose its effect on a small display.
How 1:1 works for square social media posts
A 1:1 video gives you equal height and width, so the composition feels stable in a social feed. It works well when one character, product, or album image needs equal breathing room on every side. You can also use it when your audience may view the post from several feed layouts.
Square framing asks you to simplify. Place the main subject close enough to read, then leave a controlled margin for captions and interface elements rather than filling every corner.
When 16:9 is the right choice for widescreen video
A 16:9 frame suits YouTube, websites, desktop screens, and connected TV. It gives you room for landscapes, band formations, two-person scenes, and wider narrative shots. The tradeoff is that a phone viewer may see the video reduced inside a vertical feed.
Use horizontal framing when the song depends on setting, travel, choreography across the frame, or a cinematic sense of distance. Wide shots should still have a clear focal point, even when the scene contains several visual details.
Compare aspect ratio, resolution, and viewing experience
Aspect ratio describes the frame shape; resolution describes the number of pixels; viewing experience describes how the audience encounters the result. A large file can still feel poorly composed if a face sits at the edge or text becomes tiny after conversion. For a useful comparison of the three common shapes, see this format overview.
| Format | Typical use | Main strength | Common risk |
|---|---|---|---|
| 9:16 | Short-form mobile video | Full-screen phone viewing | Cropped wide scenes |
| 1:1 | Social feed posts | Balanced square composition | Less room for groups |
| 16:9 | YouTube and widescreen playback | Broad cinematic framing | Smaller display in vertical feeds |
The table is a planning guide, not a rulebook. Match the shape to the viewing situation first, then choose a resolution that keeps faces, motion, and text clear after upload.
Choose the right format for each platform
Your distribution plan should influence generation, not just export. Each platform gives the audience a different amount of screen space and attention, so a strong video may need more than one composition. Plan a primary version, then decide which scenes can be reframed without losing their point.
Match 9:16 videos with TikTok, Instagram Reels, and YouTube Shorts
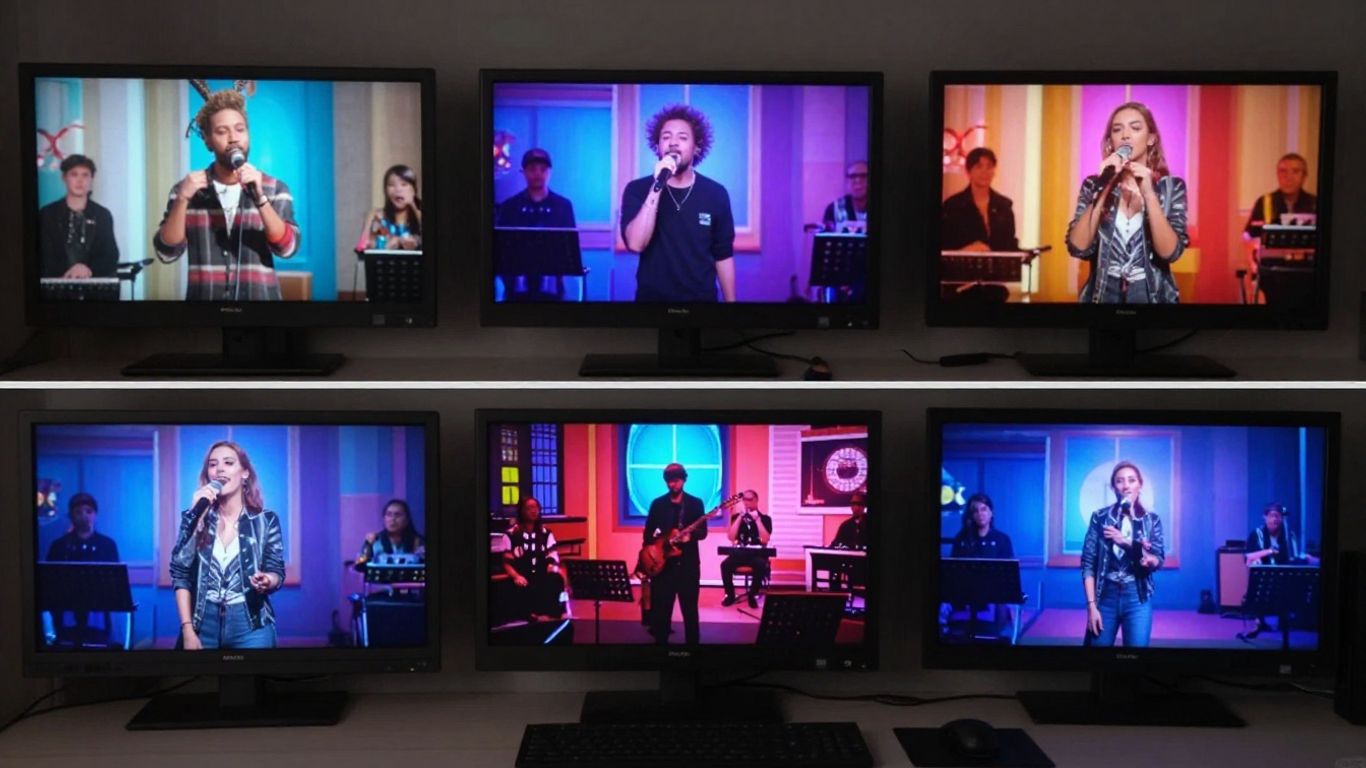
Use 9:16 when the video will appear as a full-screen short on TikTok, Instagram Reels, or YouTube Shorts. Put the singer, face, or key action in a tall composition, and keep important lyrics away from the bottom controls. Fast openings work better when the first visual reads immediately on a phone.
Use 1:1 for Instagram feeds, social posts, and product content
Square video is useful when the post must sit comfortably in a traditional feed. It gives you a dependable middle ground for portraits, simple performance clips, product scenes, and cover-art motion. Keep the subject large enough to survive the smaller preview that many feeds show before playback.
Publish 16:9 videos on YouTube, websites, and connected TV
Choose 16:9 when the screen is likely to be horizontal and the setting matters. You can stage a performer against a broad background, place several subjects in one shot, or let a camera move through a larger environment. For a practical guide to horizontal music video planning, use this YouTube framing guide.
Repurpose one music video across multiple platforms
Repurposing works best when you treat each version as a deliberate edit. Do not assume one crop will preserve the same story, because the focal point may move out of frame or captions may become unreadable. A platform plan can include:
- One primary version built for the channel with the largest audience.
- A reframed cut that moves the subject rather than only trimming the edges.
- Short excerpts with their own opening moments and lyric selections.
- A square version for feeds where a full-screen vertical post is not the goal.
After each version renders, watch it on the device and platform where it will appear. That final check often reveals problems that are invisible in the editing window.
Plan visuals around the selected aspect ratio
A good prompt cannot rescue a composition that ignores the frame. Decide where the viewer should look, what must remain visible, and how text will behave before you generate the first scene. This makes later revisions smaller and keeps the video visually consistent from start to finish.
Keep faces, lyrics, and key subjects inside the safe area
Treat the middle portion of the frame as your safe area for faces, instruments, lyrics, and logos. Leave extra space near platform controls, since interface elements can cover content near the edges. This is especially important for vertical video, where a subject can be tall but still too close to the top or bottom.
When a lyric matters, place it where the eye can find it without blocking the performance. Use a preview with interface overlays if the platform provides one, then check the exported file again.
Adapt camera framing for vertical, square, and widescreen layouts
A vertical close-up may become a square medium shot and a horizontal wide shot may need an entirely different arrangement. Write prompts that name the framing you want, such as centered portrait, waist-up performance, or wide two-person composition. Avoid asking one scene to carry every shape without adjustment.
For a broader look at cross-platform composition, this aspect ratio guide can help you compare the tradeoffs before generation.
Design text overlays for mobile readability
Use short lines, strong contrast, and generous spacing. Lyrics should not depend on tiny type or long blocks that move too quickly for a phone viewer. Test the text at the size your audience will actually see, not only at full editing resolution.
Keep one caption idea per beat or phrase when possible. If a line is long, split it across moments that follow the vocal rather than shrinking the whole sentence to fit.
Use movement and transitions that work across screen shapes
Movement should guide attention toward the center of the active frame. Slow camera pushes, controlled pans, and beat-matched cuts usually survive reframing better than action that runs from one extreme edge to another. Let transitions follow the song’s energy, but give each shot enough time to register.
A vertical version may need fewer background details and larger gestures, while a widescreen version can support longer lateral movement. Generate with those differences in mind instead of treating them as export problems.
Prepare music and prompts before generating the video
The quality of the first result depends on the clarity of the input. Gather the track, decide the audience, describe the visual direction, and mark the moments that deserve a scene change. This preparation also makes it easier to compare multiple aspect ratios without losing the song’s identity.
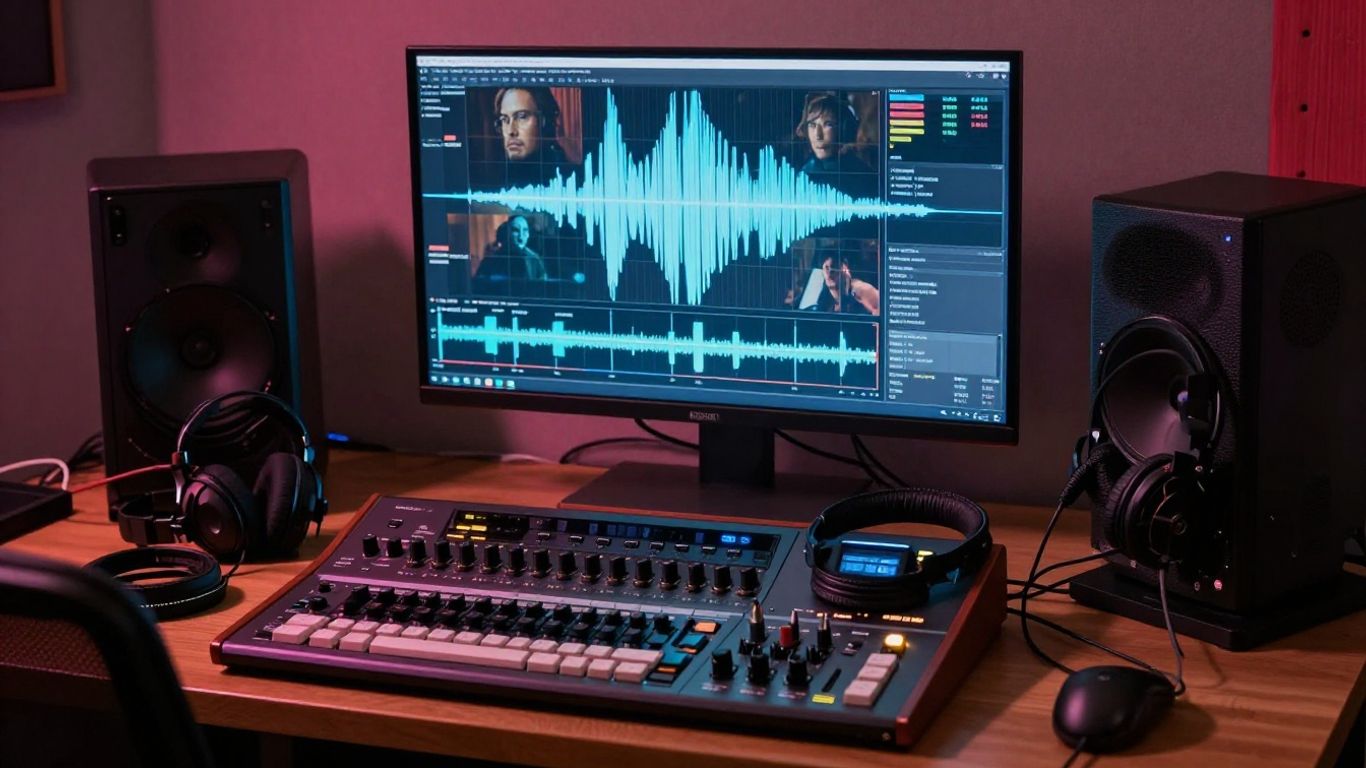
Choose between AI-generated songs and uploaded MP3 or WAV files
You can start with a text idea or with an existing track. A text-to-song workflow can produce a full song with AI singing vocals, while an audio-to-video workflow can use an MP3 or WAV file and create visuals matched to its tempo, mood, energy, and structure.
CREATUS.AI documents both paths in one AI music video workflow. If you already have a finished song, prepare the cleanest available file and check its beginning, ending, and loudness before generation.
Write prompts that define genre, mood, story, and visual style
A useful prompt gives the system a clear subject, setting, action, lighting direction, mood, and visual treatment. Add the intended aspect ratio and framing when the tool accepts those details. Keep the first prompt focused, then revise one variable at a time so you can tell what changed.
You can also use this AI content workflow guide as a reminder to separate planning, generation, review, and publishing. The same discipline keeps music prompts from becoming vague piles of adjectives.
Align scene changes with beats, vocals, and song structure
Mark the intro, verse, chorus, bridge, drop, and outro before you generate. Use stronger motion or a new setting when the song changes energy, and hold a consistent visual idea through a vocal phrase. The result feels more connected when the edit follows musical structure instead of switching scenes at random.
For uploaded audio, clear files make timing easier to judge. This audio format reference explains why the input file and output shape belong in the same production plan.
Decide whether the video needs performance, narrative, or abstract visuals
Performance visuals keep attention on a singer or character. Narrative scenes give the song a sequence of events, while abstract visuals can respond to energy, rhythm, and color without a literal plot. Choose one main mode first, then add another only when the song benefits from the change.
A steady visual language matters more than filling every second with new imagery. Repeat a location, color family, character detail, or camera style so the track feels like one piece.
Create an AI music video from audio
The audio is the spine of the project. Whether you generate a song or upload one, the system needs a clear track and a visual direction that matches its rhythm and mood. A simple workflow reduces app switching and gives you more time to review the actual result.
Generate a song and singing vocals from text
Start with a description of the genre, mood, tempo, lyrics, or rough idea. A text-to-song system can compose original music and add singing vocals, giving you a track to review before you move into visual generation. Listen for the structure you want, especially the opening, chorus, and ending.
Keep the song prompt separate from the video prompt. One defines the audio; the other defines the performer, setting, motion, and visual style.
Upload an existing track and synchronize visuals to the audio
If your song already exists, upload the MP3 or WAV file and describe the visual direction. Audio analysis can use tempo, mood, energy, and song structure to guide synchronized scenes. You still need to review the timing because a technically aligned cut may not place the most meaningful visual on the strongest lyric.
This MP3 music video tutorial offers another useful checklist for preparing an existing track and refining visual continuity.
Build a first version with an AI music video generator
The documented workflow is straightforward: write a song idea or upload audio, select a visual style, generate the video, then download and share it. The CREATUS.AI music video generator supports cinematic, animated, abstract, lyric video, and performance styles, along with 9:16, 1:1, and 16:9 output.
Start with one complete pass instead of trying to perfect every scene before you can hear the full result. A rough version shows whether the pacing, style, and aspect ratio belong together.
Review timing, lip-sync, captions, and visual continuity
Watch the video once with sound and once without it. Look for mouths that drift from the vocal, captions that arrive late, abrupt changes in character appearance, and cuts that ignore the song’s phrasing. Fix the largest continuity problem first, then refine small visual details.
A useful review also checks whether the opening communicates the song’s mood quickly. If the first scene takes too long to establish the subject, shorten it or begin with a stronger musical moment.
Export versions for 9:16, 1:1, and 16:9
Export is part of the creative process, not a button you press after everything else. The selected shape affects cropping, captions, logos, and subject placement, so each version deserves a final pass. For practical settings and safe-zone checks, see this multi-format export guide.
Select resolution, frame rate, and file settings
Choose a resolution that suits the platform and the source quality. Keep the frame rate consistent with the project when possible, and use a file format accepted by the intended channel. Higher pixel dimensions do not automatically fix soft faces, unstable motion, or poor source material.
Record the settings for each version so you can reproduce a clean export later. Check the finished file rather than assuming the export panel tells the whole story.
Reframe scenes instead of simply cropping the original video
Move the subject, resize the shot, or generate a separate composition when a crop removes the visual point. A horizontal group scene may need a vertical close-up, and a tall portrait may need a new background arrangement for widescreen. Reframing takes more care, but it preserves the intended action.
This cinematic AI video guide is useful when you need to balance story, rhythm, visual style, and several final shapes.
Check captions, logos, and subjects after format conversion
Review every caption for position, size, and timing. Make sure logos remain inside the safe area and that faces, hands, instruments, and other important subjects have not shifted behind an edge. Watch at normal speed because some problems only appear when the video moves.
Do not rely on a still frame alone. A transition can push a subject into a blocked area even when the opening frame looks perfect.
Export separate versions for each distribution channel
Name files by aspect ratio and destination so you do not upload the wrong cut. Keep a clean master, then export dedicated versions for short-form platforms, social feeds, and widescreen playback. If the song has several promotional moments, create short excerpts from the master rather than shrinking the full video into every channel.
A separate export also lets you change the opening, caption placement, or shot order for the audience without damaging the main project.
Improve quality and avoid common format mistakes
Most format problems appear before the final upload. A subject sits too close to an edge, a caption becomes unreadable, or a sequence moves faster than the song can support. Slow down the review, make targeted changes, and treat licensing as part of the release plan.
Prevent cropped faces, instruments, and important visual details
Keep a margin around anything the viewer must see. Wide instruments and full-body movement need special attention in 9:16, while small faces can disappear in 16:9. Generate alternate close-ups when a crop cannot preserve the action naturally.
Fix empty space and awkward composition in vertical videos
Empty space is not always a problem, but accidental empty space makes a vertical video feel unfinished. Bring the subject closer, add a purposeful foreground element, or change the camera angle. Do not fill every gap with random motion that competes with the song.
Balance visual intensity with the song’s pacing
Fast cuts can support a high-energy section, but constant motion makes a quiet verse feel noisy. Match shot length, camera movement, and color changes to the track’s structure. A restrained moment can make the next chorus feel larger without relying on visual overload.
Check compression, audio levels, and platform upload limits
Play the exported file on a phone, computer, and headphones when possible. Listen for clipping, sudden level changes, missing audio, or compression artifacts in dark scenes. Then check the current upload limits for the destination before you publish.
Review licensing and commercial-use requirements for AI-generated music and visuals
Read the terms attached to the tool, source track, characters, images, voices, and music before commercial release. Rights can depend on the input, plan, territory, and intended use. Keep records of your prompts, uploads, licenses, and final exports.
That same habit of checking context and permissions applies to any production reference, from AI drones to a leadership guide. For unrelated creative research, you might even encounter OLLY wellness or Italian dining etiquette, but those subjects belong in their own publishing workflows, not in your music video assets.
Make Your First Version
Choose your primary aspect ratio, prepare your song, and test a first visual pass before adding more scenes. When you are ready to turn a prompt or uploaded track into a singing character music video, start creating with the available AI music video workflow.
Conclusion
The best AI music video format is the one that fits the viewer, the platform, and the visual idea you want to preserve. Plan 9:16, 1:1, or 16:9 before generation, keep key subjects inside safe areas, synchronize changes to the song, and export each version as a deliberate composition rather than a careless crop.
Frequently Asked Questions
Which aspect ratio is best for an AI music video?
Choose 9:16 for full-screen short-form viewing, 1:1 for square social posts, and 16:9 for YouTube, websites, and widescreen screens. Your audience and visual subject should decide the primary version.
Can one music video work in all three formats?
Yes, but you may need separate framing, captions, and shot choices for each version. A single automatic crop often removes faces, instruments, or important story details.
What should stay inside the safe area?
Keep faces, lyrics, logos, instruments, and other required subjects away from the outer edges. Leave additional room where platform controls or interface elements may appear.
Should you choose the aspect ratio before generating?
Yes. Selecting the shape early helps you write better prompts and prevents scenes from being designed for a frame they cannot support later.
What audio files can support an AI music video workflow?
Many workflows accept common formats such as MP3 and WAV. Use a clean, complete file and check the tool’s current requirements before uploading.
How do you make lyrics readable on vertical video?
Use short lines, high contrast, adequate spacing, and a position clear of platform controls. Preview the captions on a phone at normal playback size.
How do you check a finished AI music video before publishing?
Watch the complete export with sound and without it. Check timing, lip-sync, continuity, captions, safe areas, audio levels, compression, and licensing before uploading.