Key Takeaways
Creating music videos via AI allows you to produce high-quality visual content without expensive studio equipment. By following a structured workflow, you can align audio energy with visual style to maximize audience engagement.
- Define your mood and genre before selecting generation tools
- Use high-fidelity source files to improve final animation stability
- Match visual pacing to the inherent tempo of your track
- Export files in platform-specific ratios like 9:16 for social media
- Iterate on scenes to maintain narrative consistency throughout your video
Planning your music video project
Identifying genre and mood requirements
Start your project by clearly defining the emotional arc of your song. Is the track high-energy and aggressive, or does it lean toward a melancholic, lo-fi aesthetic? Establishing these parameters helps you frame your visual requests effectively when you begin your creation process.
Defining the narrative or visual theme of the song
Determine whether you want a literal representation of your lyrics or a more symbolic, abstract experience. A consistent theme prevents your video from feeling disjointed, which is a common pitfall for new creators. Animator Hub allows you to generate consistent visual sequences that align with your song theme without hitting arbitrary length or content restrictions.
Writing effective text prompts for lyrics and composition
Your prompts must describe light, movement, and camera angle to get the best output from AI. Focus on descriptive adjectives rather than abstract goals. For instance, instead of asking for a "cool vibe," describe a "neo-noir urban setting with low-key blue lighting and flickering neon signs."
Generating the musical foundation with AI
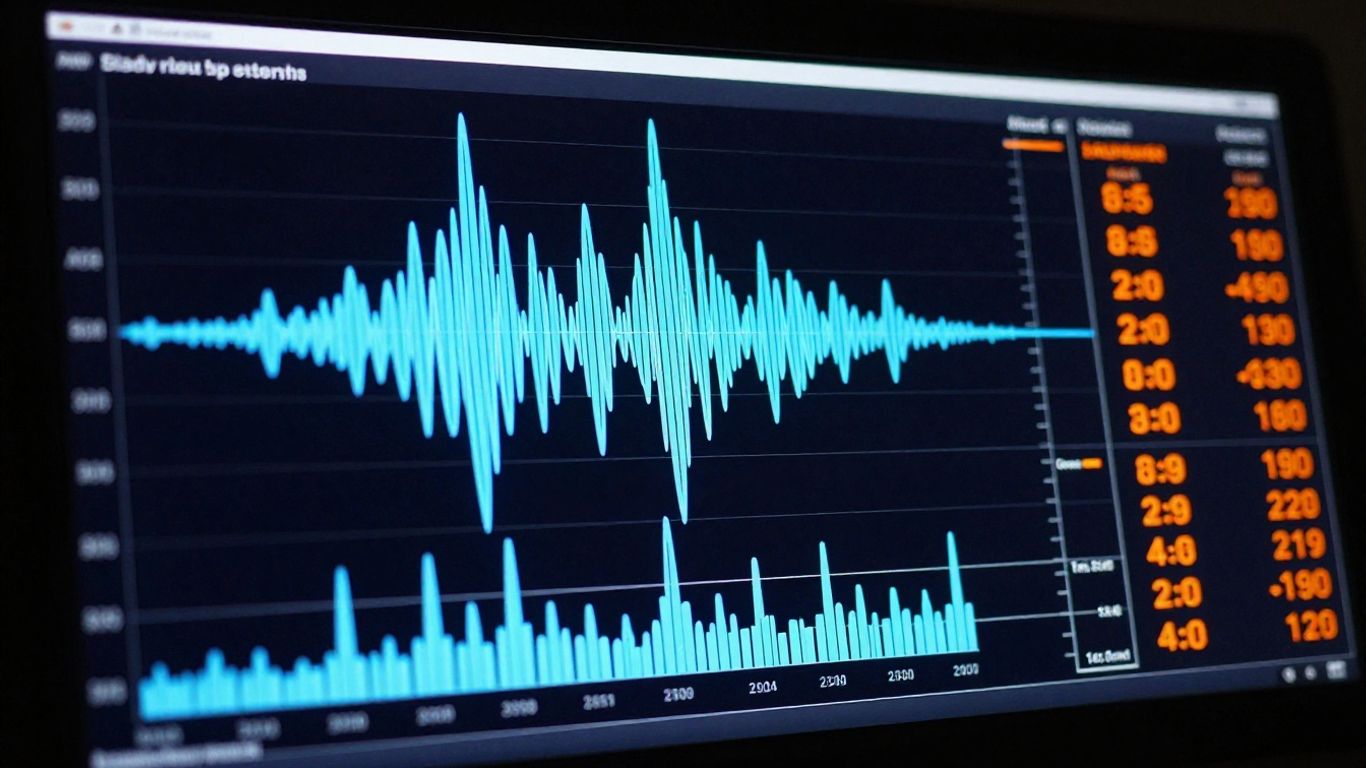
Leveraging text-to-song conversion technologies
Many platforms provide text-to-song models that function as your backbone. Enter genre keywords and tempo preferences to generate a MIDI-informed track. Keep in mind that high-quality input files are critical for ensuring the AI interprets your musical structure correctly, leading to smoother visual synchronization later.
Configuring vocal characteristics and performance styles
Adjust your vocal settings to match the song’s intent, from gritty rock to polished pop. Select performance modifiers that match the register of your track. This ensures the output feels authentic and professional rather than artificial or robotic.
Reviewing and iterating on AI-generated tracks
Review your tracks before committing to video production. Look for inconsistencies in vocal timing or clashing instrumentation. Use the following table to track your iterative process and identify improvements for each take:
| Version | Genre Focus | Vocal Quality | Notes |
|---|---|---|---|
| V1 | Lo-fi | Muffled | Needs brighter high-end |
| V2 | Lo-fi | Clear | Better mid-range clarity |
| V3 | Lo-fi | Polished | Finalized vocal performance |
Managing and importing audio sources
Uploading existing MP3 or WAV vocal recordings
If you have a pre-recorded track, ensure the file is as clean as possible. Background noise interferes with how the AI maps your visuals to the beat. Using lossless WAV files is highly recommended to preserve the integrity of your audio markers during the processing phase.
Balancing instrumental and vocal levels before animation
Your visual movement reacts to the dominant frequency in the track. If the instrumentals are too loud, the visuals may jitter or strobe unnecessarily. Use basic audio mixing software to keep your vocal and instrumental tracks clearly separated until the final rendering stage.
Ensuring format compatibility for video processing
Verify that your audio matches standard sample rates like 44.1kHz or 48kHz. Unusual sample rates can lead to timing drift in your final music video export. Consistency in this step ensures that your beat-matching remains precise throughout the entire video sequence.
Selecting visual styles and pacing

Choosing between cinematic, abstract, and lyric animation styles
Decide how your visuals will interact with the viewer. Cinematic styles focus on character-driven narrative, while abstract styles rely on fractal or geometric patterns. These animation creative studio tools found on platforms like Animator Hub streamline the selection of visual layers that respond naturally to your uploaded audio.
Adjusting visual reactivity to track tempo and intensity
Visual reactivity determines how hard the screen shakes or glows with the beat. You should calibrate these levels based on the track’s structure. During a drop or chorus, increase the reactivity parameters to capture that surge of energy, while softening the visuals during verses or bridges.
Maintaining stylistic consistency across the visual sequence
Consistent color palettes and character models keep viewers tuned in. When you transform music links into visuals, stick to a primary color theme. This keeps the look cohesive, even when the scene shifts or the tempo accelerates during complex sections.
Finalizing and rendering your music video
Evaluating synchronization between audio and visual elements
Play your final draft alongside the audio, watching for any latency in the beat-sync. If the audio feels slightly ahead of the video, adjust the track offset settings in your generator. A professional video output requires exact alignment to avoid viewer confusion.
Selecting appropriate frame rates and video codecs
Use 24fps for a cinematic "film look" or 60fps for hyper-realistic movement. High frame rates require higher bitrates during export to prevent artifacts. Choose an H.264 or H.265 codec to balance quality with file size for your final production.
Managing export settings for high-quality playback
Export your video in a bitrate that supports your resolution target. 4K exports require substantially higher bitrates than 1080p, and setting your export bitrate too low will cause visible pixelation. Always double-check your resolution before clicking render so you do not have to perform multiple high-load exports.
Preparing your video for social distribution
Adapting content for vertical 9:16 aspect ratios
Mobile-first platforms require vertical orientation to fill the screen correctly. This often means cropping your 16:9 master video. Ensure your main visual subjects remain in the center third of the frame so they are not lost during the portrait cropping process.
Utilizing 1:1 ratios for feed-based engagement
Square videos are perfect for grid-based platforms. They provide enough space without forcing users to rotate their devices. Use this format when you want your content to be easily viewable while the user scrolls through their feed.
Formatting horizontal 16:9 exports for YouTube and desktop viewing
You can use AI-generated content that is already optimized for traditional widescreen presentations to avoid manual scaling errors. This format remains the industry standard for long-form clips or traditional music video hosting sites. Always test your final export on a desktop screen to confirm no vertical letterboxing is unexpectedly cropping your visual elements.
Conclusion
By leveraging the right AI models and focusing on beat-accurate sync, you can move from a rough song idea to a finished music video in a single afternoon. Staying consistent with your visual theme while prioritizing high-fidelity audio inputs ensures that your final work stands out in a crowded social feed. Continue to experiment with different visual styles to develop your own unique aesthetic for future projects.
Frequently Asked Questions
Do I need to be a professional editor to make these videos?
No, modern generation platforms are designed to handle the editing, cutting, and syncing processes for you based on the song data you provide.
Can I use my own music recordings for this process?
Absolutely, uploading your own WAV or MP3 files allows you to give the AI a direct source to map your video against for perfect timing.
Which video format is best for social media growth?
Vertical 9:16 is currently the dominant format for discovery on mobile, making it the most important to prioritize for Reels, TikTok, and Shorts.
How long does it usually take to render a final video?
Render times vary depending on the length of the track, the resolution, and the complexity of the visual modifiers, ranging from a few minutes to an hour.
Is it possible to change the color palette of my visuals?
Yes, most platforms allow you to tweak color themes and mood filters which you can adjust before hitting the final render button.
What should I do if the visuals look blurry after export?
Check your export settings to ensure your bitrate is high enough for the desired resolution and look for any compression settings that might be too aggressive.
Are these tools compatible with other video editing software?
Yes, most AI exported files are compatible with standard professional video suites like Premiere Pro or DaVinci Resolve if you need to add extra color grading or text.