Key Takeaways
You can turn one still image and a simple song idea into a shareable AI music video without paid editing software. The best result comes from choosing the right workflow before you generate anything.
- Start with a clear, front-facing image and a focused song concept.
- Pick portrait animation, a visual music video, or an avatar workflow based on your goal.
- Use MP3 or WAV audio when you already have a finished track.
- Match the video format to TikTok, Instagram, YouTube, or another destination.
- Check free credits, watermarks, export limits, and usage rights before publishing.
Choose the right way to make your image sing
The phrase “Make your image sing for free” can describe several different workflows. You might animate a face so it lip-syncs to a song, turn a still into a wider music video, or place the image inside a singing character performance. Your choice affects the amount of motion, story, and control you get.
Start with the result you want viewers to see. A quick social joke needs less production than a complete promotional video, and a portrait-led performance needs different source material than an abstract visual piece.
Animate a portrait with a singing voice
A portrait animation keeps the face as the main subject while AI matches mouth movement to the audio. Use a well-lit, front-facing photo with one clear face, especially if you want the result to feel like a direct performance rather than a moving collage.
This approach works well for short clips, character posts, and playful personal projects. It can also make a still illustration feel active, though facial movement may look less natural when the source has unusual proportions or heavy shadows.
Turn a still image into a music video
A music-video workflow treats the image as the starting point for a larger visual sequence. The system can use the track’s mood, tempo, energy, and structure to create visuals that change as the song develops.
Choose this method when you want atmosphere instead of strict facial lip-sync. A single portrait can become the visual anchor while color, motion, camera treatment, or additional scenes carry the song forward.
Use a talking or singing avatar
An avatar workflow gives the image a performer role. The character can appear to sing lyrics or carry the visual identity of the track, which is useful when you want a repeatable persona for several posts.
Keep the character’s appearance consistent across projects. A simple pose and readable silhouette usually produce a cleaner performance than a crowded image with several people, props, and competing focal points.
Match the method to your publishing platform
Your destination should influence the format and length from the beginning. Vertical video suits mobile feeds, square video works in many social feeds, and horizontal video gives YouTube viewers more room for scenery and movement.
If you want a guided overview of free workflows, this free AI music video guide can help you compare song creation, visual generation, and export considerations before you spend credits.
Prepare your image and audio
Good inputs reduce the number of failed generations. Before you open a generator, choose the image, settle on the song direction, and decide where the finished video will appear. That small amount of preparation gives the AI fewer ambiguities to resolve.
You can start with only an image and a text idea, or bring your own finished audio. Either way, keep the first version simple so you can tell whether the core concept works.
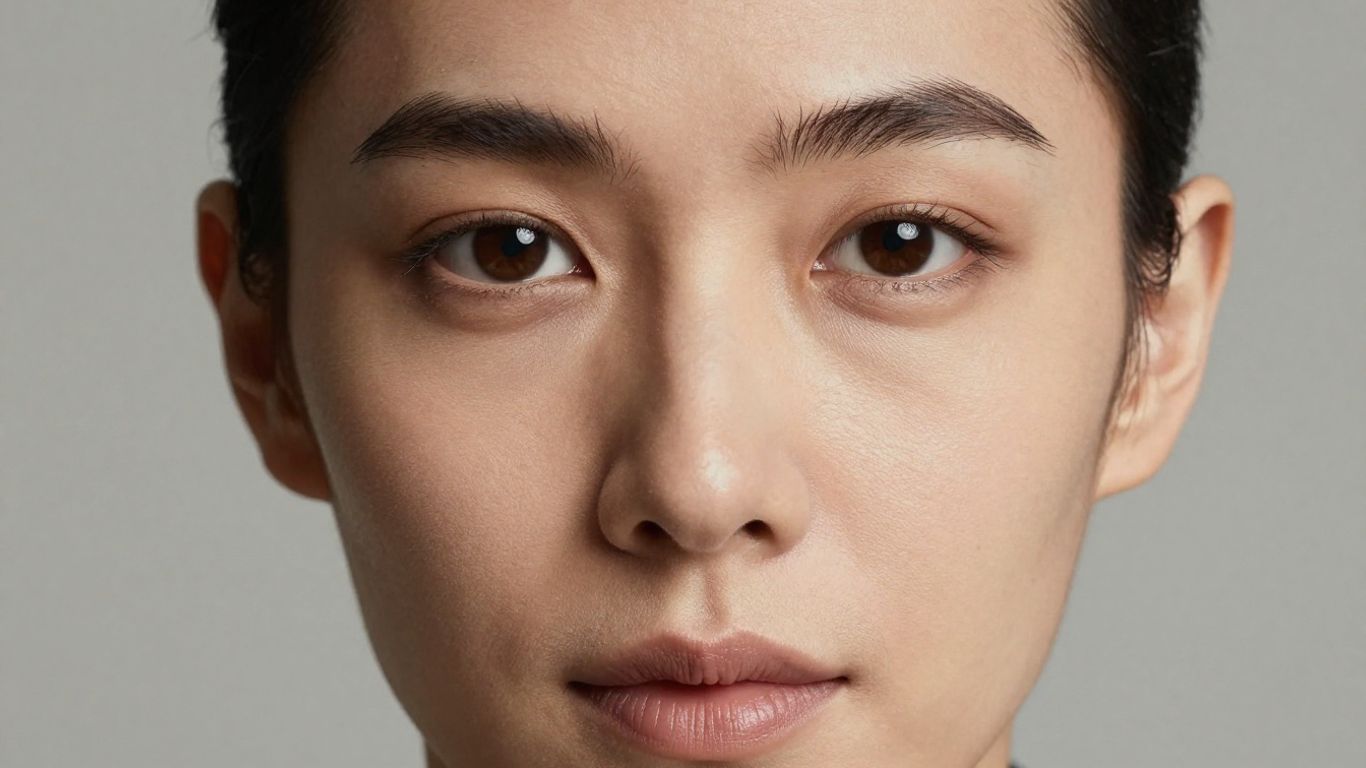
Choose a clear, front-facing image
Pick a high-resolution image with a visible face, even lighting, and enough space around the head and shoulders. Avoid sunglasses, hair covering the mouth, extreme side angles, and busy backgrounds when lip movement matters.
For a full music video, composition matters just as much as facial clarity. Place the subject where later motion can breathe, and leave safe space if you expect to add lyrics or captions.
Write lyrics or describe the song you want
Give the song generator a direct brief: name the genre, mood, tempo, vocal character, and central idea. You can add complete lyrics, a chorus concept, or a short description of the scene you want the song to evoke.
A useful prompt might mention a slow electronic ballad, intimate vocals, soft drums, and lyrics about leaving a late-night city. Specific direction saves credits because the first result has a clearer target.
Upload an MP3 or WAV file
Use an MP3 or WAV file when the music already exists. Check that the file plays cleanly from start to finish and that the vocal or instrumental balance is close to what you want before sending it into a video workflow.
A finished audio file also makes comparison easier. You can test different visual styles against the same track instead of changing the music and visuals at the same time.
Select the right aspect ratio
Choose the frame before generation when the tool allows it. A vertical composition needs a tall subject and central action, while a horizontal composition can support wider scenes and more background detail.
Use these common choices as a practical starting point:
| Format | Best fit | Composition tip |
|---|---|---|
| 9:16 | TikTok, Reels, Shorts | Keep faces and captions near the center |
| 1:1 | Social feeds | Use one strong subject with balanced margins |
| 16:9 | YouTube and standard video | Leave room for wider motion and scenery |
The format changes how your image should be framed. If you crop only after generation, you may lose the face, lyrics, or most important movement.
Create a song with AI vocals
Text-to-song tools let you move from an idea to a complete track with singing vocals. You do not need formal music production skills, but you still need to make decisions about tone, structure, and the kind of performance you want.
Treat the first generation as a working version. Listen for whether the chorus arrives at the right moment, whether the vocal suits the image, and whether the arrangement leaves enough space for later visuals.
Describe the genre, mood, and tempo
Name a recognizable genre and pair it with a mood and pace. “Dreamy indie pop, warm female vocal, mid-tempo, soft guitar, hopeful chorus” gives a more usable direction than “make something good.”
You can also specify the energy curve. Ask for a restrained verse, a wider chorus, and a short instrumental break if you want the video to have clear points for visual change.
Add lyrics or a central song idea
Lyrics give the vocal generation a strong structure, while a central idea leaves more room for the system to write. If you supply lyrics, keep lines reasonably short and make the chorus easy to repeat.
Read the words aloud before generating. Awkward syllable clusters, very long lines, and unclear pronunciation can make the vocal feel uneven even when the melody works.
Review the generated vocals and arrangement
Listen with headphones if possible, then check the opening, chorus, bridge, and ending. The best visual concept cannot fix a song whose vocal tone clashes with the image or whose structure feels unfinished.
Save versions that have useful sections. You may prefer the vocal from one generation and the arrangement of another, but keeping notes prevents you from spending credits on the same experiment repeatedly.
Regenerate when the voice or style misses the mark
Regenerate with one meaningful change at a time. Change the tempo, vocal character, genre, or lyric phrasing rather than rewriting every part of the prompt at once.
Small revisions reveal what caused the problem. If the melody is right but the vocal is too bright, keep the structure and adjust only the vocal description.
Turn the song into a visual video
Once the audio feels usable, let the visual stage support the song instead of competing with it. A strong image can remain visible throughout, or it can become one element in a sequence of generated scenes.
This is where timing and format matter most. Think about where the hook begins, when the energy rises, and which moments deserve a visual change.
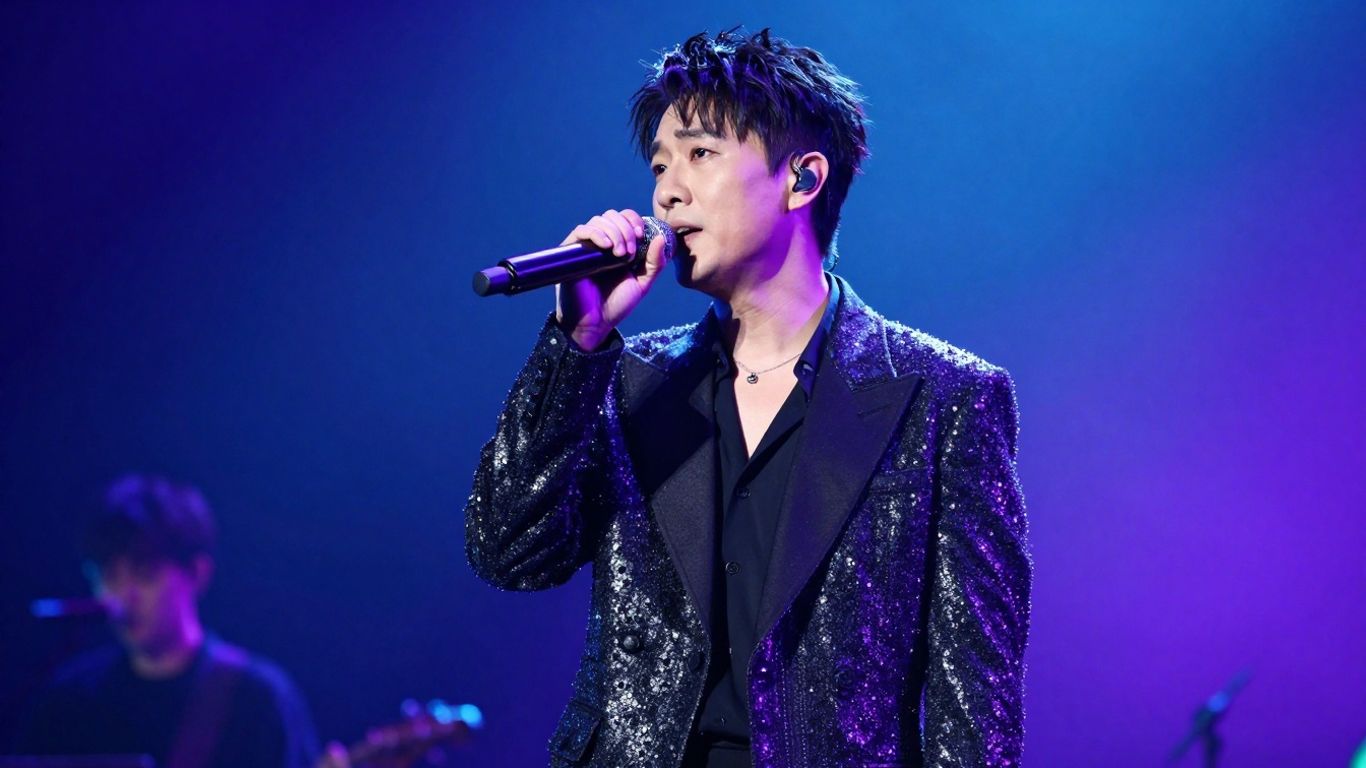
Upload your finished audio
Upload the final MP3 or WAV rather than a rough preview. A clean file gives the visual system a stable basis for reading tempo, mood, energy, and song structure.
If you generated the song in the same workspace, use that version directly when possible. Fewer transfers mean fewer chances to select the wrong file or create mismatched edits.
Select a visual style that fits the image
Choose a style that supports the source image’s personality. Cinematic treatment can suit a dramatic portrait, animation can fit illustrated characters, abstract visuals can carry instrumental tracks, and a lyric video can keep the words central.
Avoid choosing a style only because it looks impressive in a preview. A style that overwhelms the face or changes the character too much may weaken the connection between the image and the song.
Sync visuals to the song’s energy and structure
Let calm sections breathe and reserve stronger movement for the chorus or beat changes. Visual shifts feel intentional when they follow the song’s structure rather than changing at random every few seconds.
A simple plan is enough: establish the image in the opening, add motion during the first section, widen the scene at the chorus, and finish with a clean final frame. You can review more ideas in this music video workflow before generating several versions.
Choose between 9:16, 1:1, and 16:9 formats
Export the version that matches the platform where you will post it. Vertical is suited to TikTok, Instagram Reels, and YouTube Shorts; square works for many social feeds; horizontal fits standard YouTube viewing.
Do not assume one crop will work everywhere. Check the face, focal point, and any text in each version before you publish, especially when the source image has important details near the edges.
Improve the result without paid editing software
You can make a free generation look cleaner with better inputs and a tighter brief. Paid editing software is not required for the basic workflow, but attention to framing, pacing, and file preparation still matters.
Aim for one clear visual idea per version. A focused result usually feels more finished than a crowded sequence filled with effects that do not relate to the song.
Use images with strong contrast and clean composition
Separate the subject from the background with lighting, color, or depth. Clear contrast helps the system identify facial features and gives motion effects a more stable area to work with.
Remove distracting objects before upload if you can. A clean crop, readable expression, and uncluttered background often matter more than a highly detailed source image.
Keep prompts specific and easy to interpret
Describe visible choices rather than abstract goals. Mention the camera movement, color palette, setting, mood, and performer behavior you want, then remove details that do not affect the shot.
For example, “slow push-in on a blue-lit singer during a quiet verse” is easier to interpret than “make the video emotionally powerful.” Specific language also makes it easier to compare one version with the next.
Add lyric or sound-wave visuals when useful
Lyrics help viewers follow a vocal track, while sound-wave visuals can give an instrumental or abstract video a clear point of motion. Use either option when it adds information, not simply because the feature is available.
Keep text large, brief, and away from the edges. Readability matters more than decoration, particularly on a phone screen.
Create short versions for social media
Cut a version around the strongest hook, chorus, or visual moment. Short clips are easier to test, share, and revise than a full-length video when you are still deciding which image and style work best.
Before exporting, check the opening second. The first frame should make the subject and mood clear without requiring the viewer to wait for the song to begin.
Compare free AI image-singing tools
Free tools vary widely, so compare the workflow rather than the marketing label. Some start with a portrait, some create a song, and others turn existing audio into visuals. Your best choice depends on which part of the process you want to control.
Check the free tier before you commit to a long project. Credits, watermarks, clip length, export formats, and commercial usage terms can change the practical value of an otherwise capable tool.
Check whether the tool supports image uploads
An image upload option is useful when your project depends on a specific portrait, illustration, or character. Without it, you may need to accept a generated performer that does not match your original concept.
Also check what the tool does with the image after upload and whether it keeps the subject consistent from one scene to another. Those details affect privacy and continuity as much as visual quality.
Look for vocal, lip-sync, and avatar controls
Decide whether you need a singing face, a full character performance, or only visuals that respond to audio. Then look for controls that match that goal, such as vocal direction, lip-sync behavior, avatar selection, or visual style options.
Do not pay for controls you will not use. A simple audio-to-video workflow may be enough for an instrumental track, while a character-led song needs more control over the performer.
Review free-plan limits and watermarks
Read the free-plan terms before generating a final version. Look for limits on credits, duration, resolution, download access, watermarks, and the rights attached to free outputs.
A short test can answer practical questions quickly. Generate a small sample, inspect the watermark and export quality, and confirm that the result fits the platform where you intend to share it.
Choose an all-in-one workflow with Creatus AI Music Video Generator
An all-in-one workflow can save time when you want to generate a song with AI singing vocals and then turn that audio into a synchronized music video. The CREATUS.AI AI Music Video Generator supports text prompts and lyrics for song generation, MP3 and WAV uploads for video generation, and exports in 9:16, 1:1, and 16:9 formats.
Its free tier gives you a way to test the workflow before committing money, while the combined process avoids switching between separate song and video tools. For a broader comparison of free song makers, see this free AI song maker guide.
When you organize your own process, keep unrelated research separate from the production brief. Resources about Oli6Goat, manager feedback, using ingredients, pillow covers, and a sunrise smoothie belong to other tasks, not to your image-singing prompt. For the visual side, this singing photo generator coverage can help you think through portrait-led animation without confusing it with a full music-video workflow.
Conclusion
You can make your image sing for free by starting with a clean source image, a focused song brief, and a format that fits your audience, then testing the audio and visuals in small steps; when you want one workflow for AI vocals and synchronized video, try the generator and judge the result against your own creative and publishing needs.
Frequently Asked Questions
Can I make an image sing without a paid editor?
Yes. Many browser-based AI tools can combine an image with a song or generate a music video from audio, though free plans may limit credits, duration, resolution, or downloads.
What kind of image works best?
Use a clear, well-lit, front-facing image with one main subject. Keep the mouth visible and avoid heavy shadows, extreme angles, and cluttered backgrounds when lip-sync matters.
Do I need an existing song?
No. Some tools generate a complete song from a text description, lyrics, or rough idea. You can also upload an existing MP3 or WAV file when you already have the audio.
Which format should I use for social media?
Use 9:16 for TikTok, Reels, and Shorts, 1:1 for many social feeds, and 16:9 for standard YouTube video. Check the crop before publishing.
How do I make lip-sync look better?
Choose a front-facing portrait, keep the mouth unobstructed, and use clean audio with a clear vocal. Shorter clips can also be easier to review and regenerate.
Can AI generate vocals from my lyrics?
Yes. A text-to-song tool can use supplied lyrics or a song idea to generate music with singing vocals. Review pronunciation, phrasing, and vocal tone before using the result in a video.
What should I check before sharing a free AI video?
Review the watermark, credit use, clip length, export quality, privacy terms, and rights for your intended use. Keep a copy of the original image and audio so you can revise the project later.