Key Takeaways
A still image can become a short, watchable video with the right source photo, motion prompt, and export settings.
- Choose image-to-video animation for simple motion and music video tools for audio-led projects.
- Prepare a sharp, well-composed image before you upload it.
- Describe one clear camera movement instead of asking for everything at once.
- Keep motion subtle when faces, hands, products, or text matter.
- Check rights, watermarks, dimensions, and the final loop before publishing.
Choose the right free image animation method
Your best method depends on what you want the finished clip to do. A photo animator adds movement to one still image, while a music video workflow connects visuals to a complete audio track. If you want a quick social post, start with image-to-video animation; if sound drives the project, use a music-focused workflow.
The free image animation guide can help you compare these paths before you spend time generating clips. Keep the decision practical: match the tool to your source material, final platform, and need for control.
AI image animators for fast results
AI image animators work well when you have one portrait, product shot, pet photo, or illustration and want a short moving clip. You upload the image, describe an action or camera move, and review the result. Many free tools limit duration, generations, or downloads, so test with a small idea first.
Use a prompt that names the subject, action, and camera behavior. “A person turns slightly toward the window as the camera makes a slow push-in” gives the system a narrower task than “make this cinematic.”
Photo-to-video tools for social content
Photo-to-video tools suit quick posts because they usually keep the original image as the visual anchor. You can add a gentle head turn, drifting fabric, falling leaves, or a slow camera move without building a full sequence from scratch.
The DomoAI photo animator is one example of a page focused on guiding image animation with prompts or templates. Regardless of the tool, check the first and last seconds closely, since a strong opening can still end in an awkward loop.
Motion effects in online video editors
Online editors are useful when the motion itself is simple but the post needs titles, cuts, music, or several images. A pan across a wide photo, a slow zoom into a detail, or a sequence of stills can be enough to hold attention.
This approach gives you more manual control than a fully generated clip. It also makes it easier to replace one weak section without regenerating the entire video.
When to use a music video generator instead
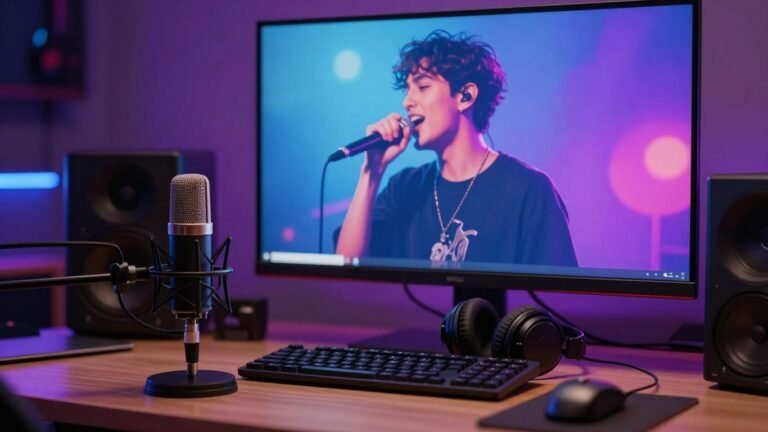
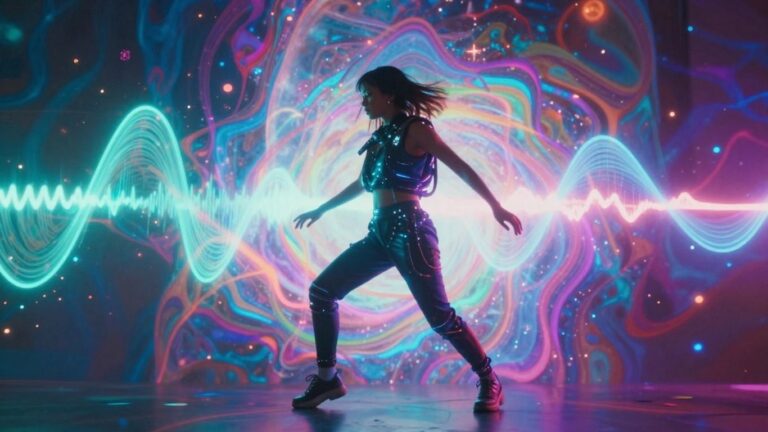
Choose a music video generator when a song or uploaded audio should determine the pacing. CREATUS.AI combines text-to-song generation with AI singing vocals and audio-to-music-video production, so it fits projects that begin with a song idea or an existing audio file rather than one silent picture.
If you are starting from audio, the music video workflow offers a useful way to think about visual styles, synchronization, and social exports. A still image can be one visual ingredient, but the audio remains the organizing element.
Prepare your image before animating it
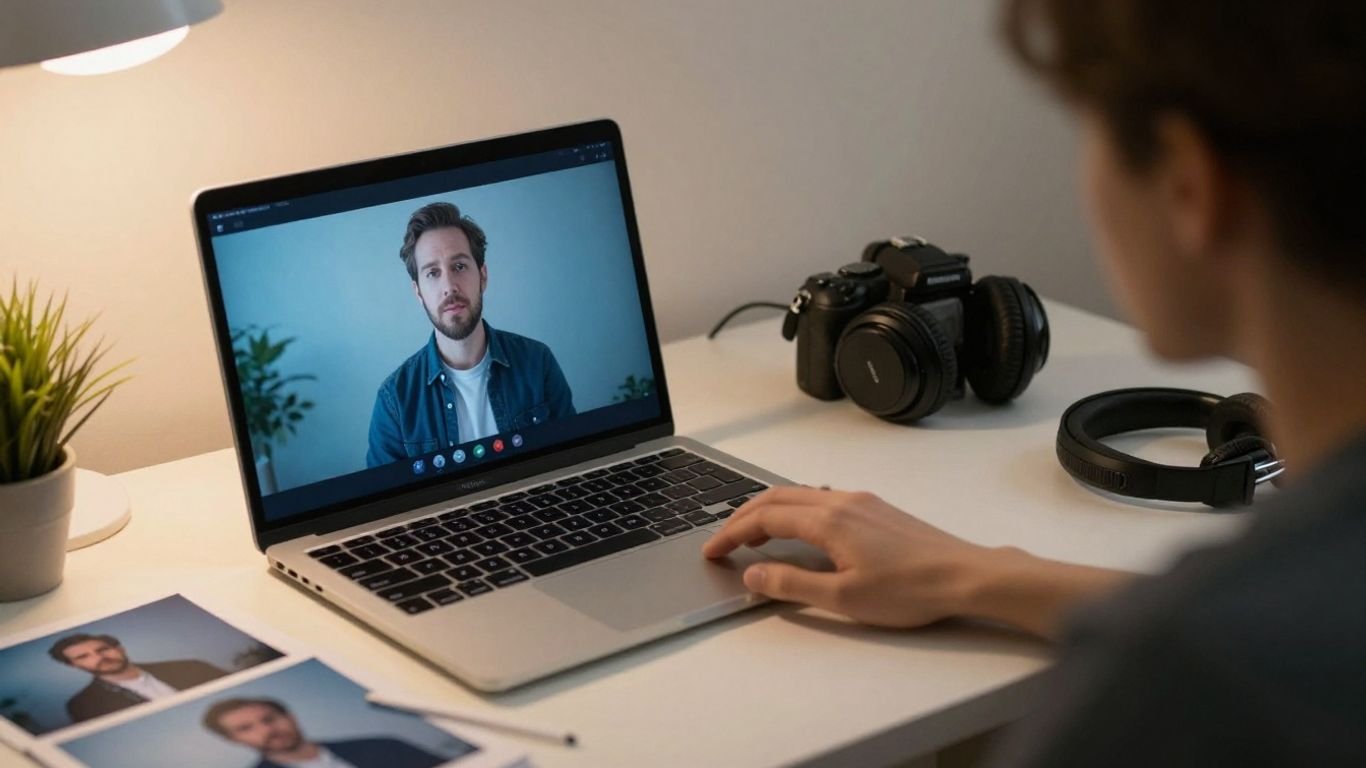
Good animation starts with a clean source. A blurry image, crowded background, or badly placed face gives the generator too many problems to solve at once. Spend a minute checking the frame before you upload it.
Use the image’s subject and intended platform to guide your edits. The photo animation steps cover the basic upload, prompt, and generation pattern, while the checks below help you get a more stable result.
The same habit of preparing materials before a project applies to other practical guides, including toddler snack planning, an HR career path, reducing food waste, choosing pillow covers, and a watermelon mojito recipe. Those subjects are different, but each rewards clear inputs and a simple plan before you begin.
Use a clear, high-resolution photo
Start with the largest clean version you have. Faces should be visible, edges should be reasonably sharp, and the main subject should not be hidden by heavy blur or compression.
A clear file gives the animation system more visual information to work with. It does not guarantee a perfect result, but it reduces avoidable artifacts around hair, fingers, jewelry, and object boundaries.
Crop the image for the target platform
Decide where the video will appear before you crop. A vertical frame favors a centered portrait or a tall subject, while a horizontal frame gives landscapes and group scenes more breathing room.
Leave some space around the subject if you expect a pan or zoom. A tight crop may look fine as a still but push a face or product out of frame once movement begins.
Remove distractions from the background
Simplify anything that competes with the subject. Remove stray objects, busy patterns, harsh reflections, and unclear edges when possible, either by editing the source or choosing a cleaner image.
A simple background also makes motion easier to judge. If everything moves, you may not know whether the intended subject is animating or the entire frame is warping.
Check faces, products, and text for visual clarity
Inspect the details that viewers will care about most. Faces need stable eyes and mouths, products need recognizable shapes, and any visible text should be readable before you animate it.
If text is part of the design, consider adding it later in an editor instead of asking the generator to preserve it. Generated motion often changes small letterforms, labels, and logos.
How to animate an image for free
The basic process is short, but each step affects the next one. You choose a source, describe motion, set the clip parameters, and inspect the output before you download it. To animate image for free without wasting attempts, keep your first generation deliberately simple.
Run one controlled test before adding extra effects. That gives you a useful baseline and makes it easier to tell which prompt change improved or damaged the result.
Upload the image to an online animation tool
Open the image-to-video feature and upload the prepared file. Check the accepted format, file size, and any free-tier limits before you start a generation.
Keep the original file stored locally so you can return to it after testing crops or edits. If the tool offers a preview, use it to confirm that the whole subject is visible.
Select a motion style or animation preset
Presets can save time when you already know the visual direction. Pick a movement that suits the subject, such as a slow portrait motion, a gentle environmental effect, or a controlled camera move.
Do not stack several dramatic presets on the first attempt. A single motion style gives you a clearer read on the image and usually produces a calmer clip.
Add a prompt for camera movement
Write the prompt like a short direction for a camera operator. State what moves, what stays still, and how the camera travels through the shot.
Useful prompts often include:
- Slow push-in toward the subject while the background stays stable.
- Gentle left-to-right pan across the scene with natural depth.
- Subtle breeze moving hair and clothing, with a locked camera.
- Slow pull-back that keeps the full subject inside the frame.
These directions separate camera movement from subject movement. After the first result, change one phrase at a time so you can see what the system responds to.
Adjust the animation length and intensity
Short clips are easier to keep coherent, especially when your source has a face or detailed hands. Start with moderate intensity and increase it only if the movement feels too faint.
| Project type | Useful motion | Starting intensity |
|---|---|---|
| Portrait | Slow push-in or slight head turn | Low |
| Product shot | Controlled pan or turntable feel | Low to medium |
| Nature scene | Breeze, water, or drifting light | Medium |
| Illustration | Gentle parallax or zoom | Low |
The settings are a starting point, not a rule. If the subject changes shape, reduce intensity before rewriting the whole prompt.
Preview the result before exporting
Watch the clip at normal speed and again at half speed if the tool allows it. Look for flicker, sudden facial changes, empty edges, and a final frame that does not connect naturally to the first.
The image animation tutorial is also useful when you want to compare prompt wording and aspect-ratio choices. Make revisions while the project is still small, then export only after the motion feels intentional.
Create more natural image motion
Natural motion usually comes from restraint. A still image has limits, and asking every part of it to move can create warping instead of life. Start with one believable action and let the camera do some of the work.
Think about depth, weight, and direction. A foreground object can move slightly differently from the background, but the subject should remain easy to recognize.
Match movement to the subject
Choose motion that could happen in the original scene. Hair can respond to a light breeze, a person can shift their gaze, and a product can receive a slow reveal. A stone statue should not suddenly behave like fabric.
Natural movement beats spectacle when the source image carries the story. Ask whether the action supports the subject before you add it.
Use subtle camera pans and zooms
A slow pan adds direction without asking the generator to redraw the whole subject. A restrained zoom can guide attention toward a face, detail, or product feature.
Keep the path smooth and leave enough margin around the subject. Fast camera movement makes small generation errors more visible and can make a short clip feel tiring.
Avoid distorted faces and hands
Faces and hands need special attention because small changes are obvious. If eyes drift, mouths change shape, or fingers multiply, reduce the movement and simplify the prompt.
You can also crop out unnecessary hands or choose a pose with fewer overlapping details. Generate several short tests rather than forcing one ambitious prompt to work.
Keep important objects inside the frame
Place the subject where a pan or zoom has room to move. Check the corners as well as the center, since a product, face, or hand can slip out during the final seconds.
A safe margin matters most in vertical clips. Leave visual breathing room around the main object, then add captions or logos later in the editing stage.
Add sound and format the animated image
Sound changes how viewers read motion. A quiet portrait may suit soft ambient audio, while a quick product reveal can use a sharper rhythmic track. Add audio after the visual timing works, not as a way to hide weak animation.
Choose the output shape early when possible. Reframing a finished horizontal clip into a vertical post can remove the very subject you worked to keep stable.
Choose music that fits the visual mood
Match the track’s energy to the amount of movement on screen. Calm visuals usually benefit from space in the music, while fast cuts can support a stronger beat.
Use audio you have permission to publish. Free does not always mean unrestricted, so read the license terms before posting a commercial or client project.
Sync movement with beats or spoken audio
Place the main camera change near a beat, phrase, or natural pause. You do not need a new movement for every beat; one well-timed shift can feel more deliberate than constant motion.
For spoken audio, let the visual change support the sentence. A slow reveal can work under an introduction, while a cut to a detail can mark a specific point.
Select vertical, square, or horizontal dimensions
Use vertical for TikTok, Reels, and Shorts, square for many feed posts, and horizontal for standard YouTube viewing. Keep the subject away from edges where platform controls or cropping may cover it.
If your project includes music, CREATUS.AI is described as an online workflow for generating songs from text prompts or uploaded audio and syncing visuals to the music. Its documented video formats include 9:16, 1:1, and 16:9.
Export settings for TikTok, Reels, Shorts, and YouTube
Review the full export before you publish. Confirm the aspect ratio, clip length, audio presence, and whether the free tier adds a watermark or limits downloads.
A simple export checklist helps:
- Watch the file after download, not only inside the editor.
- Check that the first frame works as a thumbnail.
- Confirm captions and important details are not covered by interface controls.
- Keep a clean master file before making platform-specific versions.
This extra check catches silent audio, cropped subjects, and compression problems that may not appear in the editor preview.
Fix common problems with free image animation
Free tools are useful for testing ideas, but they often come with generation caps, shorter clips, watermarks, or limited controls. Treat each attempt as a small experiment and save the strongest source and prompt together.
If a result fails, change the simplest likely cause first. A tighter crop, lower motion intensity, or clearer camera instruction can do more than a long prompt full of competing actions.
Reduce flicker and unwanted movement
Flicker often appears when the prompt asks for too much change across a detailed scene. Remove extra actions, lower the intensity, and tell the tool which parts should remain still.
Use a stable background and avoid high-contrast patterns when possible. Several short tests can reveal whether the problem comes from the source image or the motion direction.
Improve blurry or low-quality source images
Start again with a cleaner file if you can. Sharpening may help slightly, but it cannot restore details that were never captured, and aggressive sharpening can create harsh edges.
Crop out weak areas and place attention on the clearest part of the image. A simple, close subject often animates better than a low-resolution wide scene.
Correct awkward transitions and looping
A loop works when the ending resembles the beginning in position and energy. If the clip stops mid-action, trim it or add a short fade instead of repeating an obviously different final frame.
For a smoother loop, use a slow camera move with limited subject motion. Fast gestures and large changes are harder to connect cleanly.
Work around watermarks and free-tier limits
Read the free plan details before you build a batch of content. Save your prompt, source file, and settings so you can recreate the best version if a generation expires or a download is restricted.
If you need music and visuals together, Creatus can be considered as a separate workflow, with a free starting option described in its product information. Compare the available export and usage terms with your publishing needs before committing.
Review usage rights for images, music, and AI-generated content
Use images you own, have licensed, or have permission to modify. Check music rights separately, especially when the video will promote a product, support a client, or earn revenue.
For audio-led projects, the AI music video guide offers a useful checklist for free-tier limits, synchronization, and publishing. Keep records of licenses and source files so you can answer questions about the finished clip later.
Conclusion
You can animate image for free with a clear source, a restrained motion direction, and a careful preview. Start with one believable movement, format the clip for its destination, and treat rights and free-tier limits as part of the workflow rather than an afterthought.
Frequently Asked Questions
Can I animate any picture for free?
Most tools accept common image formats, but free plans may restrict file size, duration, credits, or downloads. A clear photo with a distinct subject usually gives you a better starting point.
What kind of image works best for animation?
Use a sharp image with good lighting, a readable subject, and enough space around the edges. Simple backgrounds and clear separation between foreground and background also help.
What should I write in an image animation prompt?
Describe the subject, one action, the camera movement, and what should stay still. Short prompts with one clear direction are easier to test and revise.
How long should an animated image be?
Start with a short clip, often just a few seconds, because shorter outputs are easier to keep stable. Extend the duration only when the motion remains coherent from beginning to end.
How do I stop faces from changing?
Lower the motion intensity, simplify the prompt, and avoid asking for several facial actions at once. A closer crop and a steady camera can also reduce visible changes.
Which aspect ratio should I choose?
Choose vertical for TikTok, Reels, and Shorts, square for feed posts, and horizontal for standard YouTube videos. Check the platform’s current publishing requirements before exporting.
Can I add music to an animated photo?
Yes. Add music in an editor or use an audio-led video workflow, then align the main movement with a beat or spoken phrase. Make sure you have permission to publish the track.