Key Takeaways
You can generate videos for your music without a crew, studio, or complicated editing setup. A clear concept, a finished track, and platform-aware exports will take you much further than a pile of unrelated clips.
- Choose the platform and video format before generating anything.
- Use a finished MP3 or WAV file when your song is already recorded.
- Match visual style, pacing, and recurring elements to the music.
- Review timing, captions, framing, and consistency before export.
- Reuse the strongest moments as short clips for promotion.
Define the video’s purpose before you generate it
A music video works better when you decide what it needs to do first. You might want a full YouTube release, a short teaser, a lyric-focused post, or a visual loop that keeps your song present between releases. The purpose affects the format, pacing, captions, and amount of story you need.
Match the format to the platform
Start with the destination, not the generator. TikTok, Instagram Reels, and YouTube Shorts favor vertical viewing, while YouTube’s standard player gives a horizontal video more room for wider scenes and titles. A useful production crew guide can also help you plan shots and locations if you decide to capture some live footage yourself.
Make one master creative direction, then adapt the framing for each platform. That keeps your release recognizable without forcing one crop to work everywhere.
Choose between a visualizer, performance video, and narrative
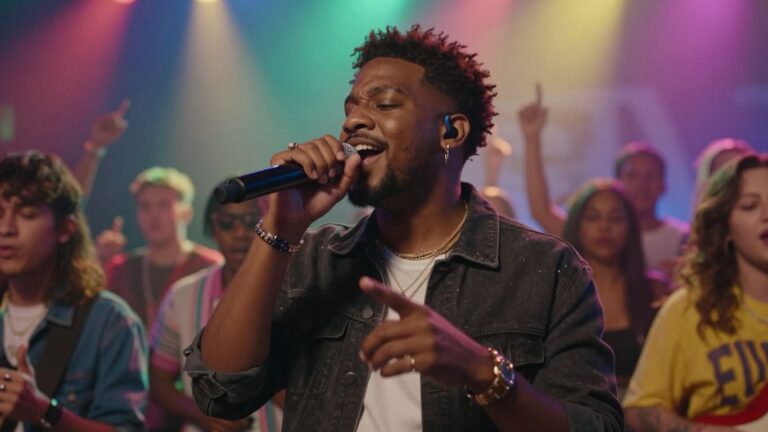
A visualizer is a good fit when the track carries the experience through rhythm, color, and movement. A performance video gives the viewer a clear focal subject, while a narrative adds characters, places, and events that unfold across the song.
Pick one main treatment before you generate. Mixing all three without a reason often produces a video that feels busy rather than intentional.
Set a clear mood, audience, and call to action
Describe the emotional temperature in plain terms: intimate and slow, bright and playful, tense and nocturnal, or raw and aggressive. Then decide who should stop scrolling and what you want them to do next, such as stream the song, follow your page, or watch the full version.
A short brief might say: “A moody electronic track for late-night listeners, with cool blue lighting, slow camera movement, and a final prompt to hear the full song.” That gives the visual system a direction without trying to write every shot.
Prepare your song and creative direction
Your input file sets the ceiling for the result. Clean audio, a stable visual idea, and a small set of references give an automated workflow fewer chances to drift. This preparation also makes revisions faster because you know which changes are creative and which come from the source material.
Use a finished MP3 or WAV file
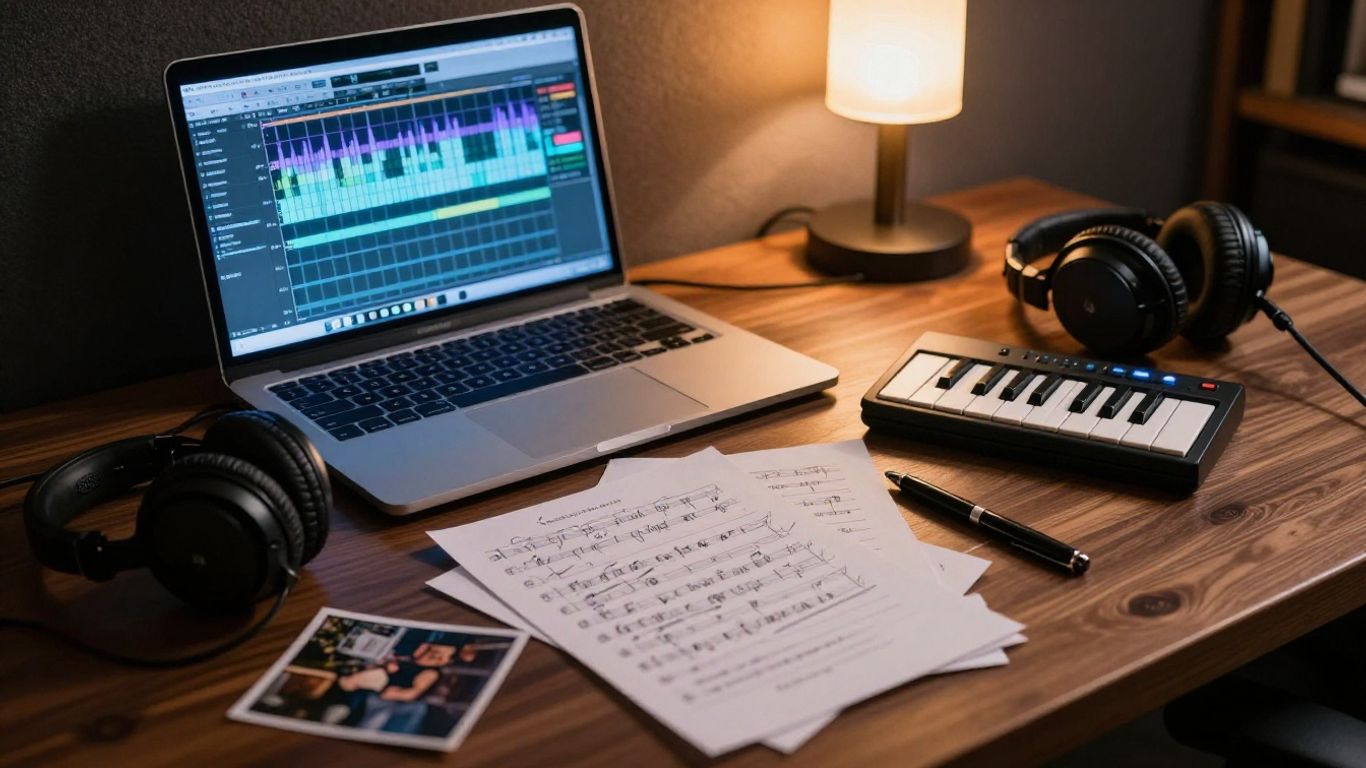
Use an MP3 or WAV file when the song is already recorded and mixed. Check the start and end points before uploading, and listen for clipped peaks, long silent gaps, or an accidental rough mix. Your video timing will follow the audio you provide, so a messy file can create problems later.
If you are still working on the arrangement, finish the version you want people to hear first. Small edits to the song can change every visual transition.
Write a useful prompt for AI-generated songs
When you do not have a finished track, describe the genre, mood, tempo, vocal character, subject, and rough lyrical direction. Avoid a long paragraph full of conflicting references. A focused prompt gives the song a stronger starting point.
For example: “Mid-tempo alternative pop with warm male vocals, restrained verses, a wide emotional chorus, lyrics about leaving a coastal town, and a hopeful final section.” You can also start from text or lyrics in CREATUS.AI, which provides text-to-song generation with AI singing vocals.
Identify the track’s tempo, structure, and emotional shifts
Listen for the moments that should change the picture: the first hook, a drum entrance, a bridge, a drop, or a final vocal lift. You do not need a formal musicology report. A simple map of intro, verse, chorus, bridge, and outro is enough to guide the visual rhythm.
This is where audio analysis helps. The documented workflow analyzes tempo, mood, energy, and song structure, then produces synchronized visuals that match the audio.
Gather lyrics, artwork, or brand assets when needed
Collect the items that will appear on screen before you generate. Lyrics help when you want captions, while cover artwork, a logo, or a recurring character can anchor the video’s identity. Keep files organized with clear names so you do not upload an old version by mistake.
You can also keep a small reference sheet with your main colors, wardrobe, locations, and subject details. Consistency matters more than complexity when viewers see only a few seconds at a time.
Generate a music video from your audio
Once the audio and direction are ready, the generation step should be simple. Upload the track or begin with a text-based song idea, choose a visual treatment, and let the system build a first pass. Treat that first version as material to review, not as a final cut that needs no attention.
Upload your track or create a song from text
Use your own MP3 or WAV when the release already exists. If you are starting from an idea, enter a text prompt, lyrics, or description to generate a song with AI singing vocals, then move from the audio into the video stage.
A two-part workflow can save time because you do not need to move the song between separate tools. The online music video workflow follows this same broad pattern: provide original text or upload audio, then generate visuals matched to the music.
Select a visual style that fits the music
Choose a style that supports the track instead of competing with it. Cinematic visuals suit broad atmosphere and story, animated treatments can give a song a graphic identity, abstract scenes work well for texture-driven music, and performance visuals keep attention on a singer or character.
The available style set includes cinematic, animated, abstract, lyric video, and performance approaches. Start with one dominant style so the first version has a clear visual language.
Use beat, mood, and section changes to guide the visuals
The strongest results usually shift when the song shifts. Keep the opening restrained if the track begins quietly, add movement as the energy rises, and reserve your biggest visual change for a chorus, drop, or final refrain.
Write down three or four moments that deserve special treatment before you generate. That small plan is more useful than asking for a new visual idea in every sentence.
A compact prompt checklist can keep your direction clear:
- Name the subject or setting that should recur.
- Describe the color palette and lighting.
- Specify the pace of movement and camera changes.
- Mark the chorus, drop, bridge, or outro as key moments.
After generation, compare each item with the result. If the video misses the beat but gets the mood right, fix timing first rather than replacing the entire concept.
Review the first version for timing and consistency
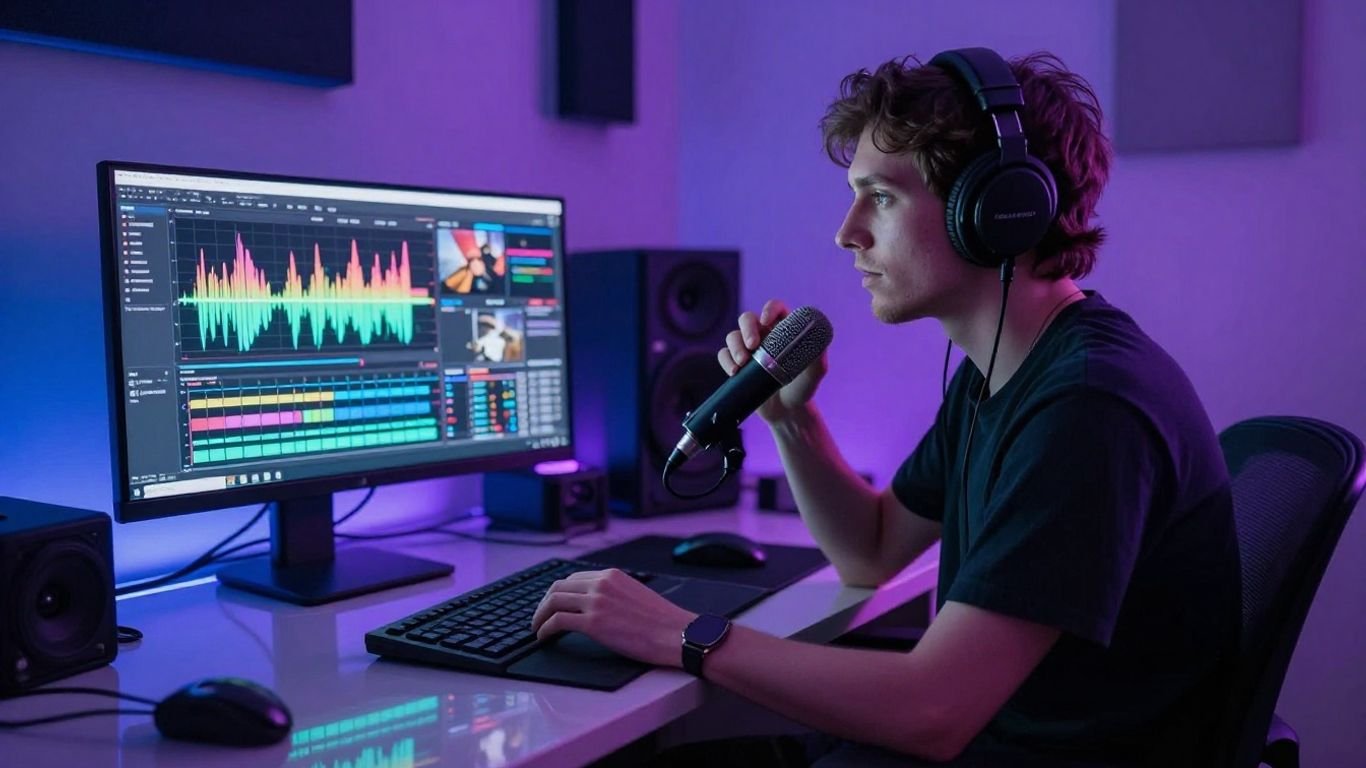
Watch the video once with sound and once while checking the waveform or section map. Look for cuts that arrive too early, motion that continues after a musical phrase ends, and characters or environments that change without a reason.
Save the first version before making changes. It gives you a reference point and helps you tell whether a revision actually improves the song’s presentation.
Create visuals that support the song
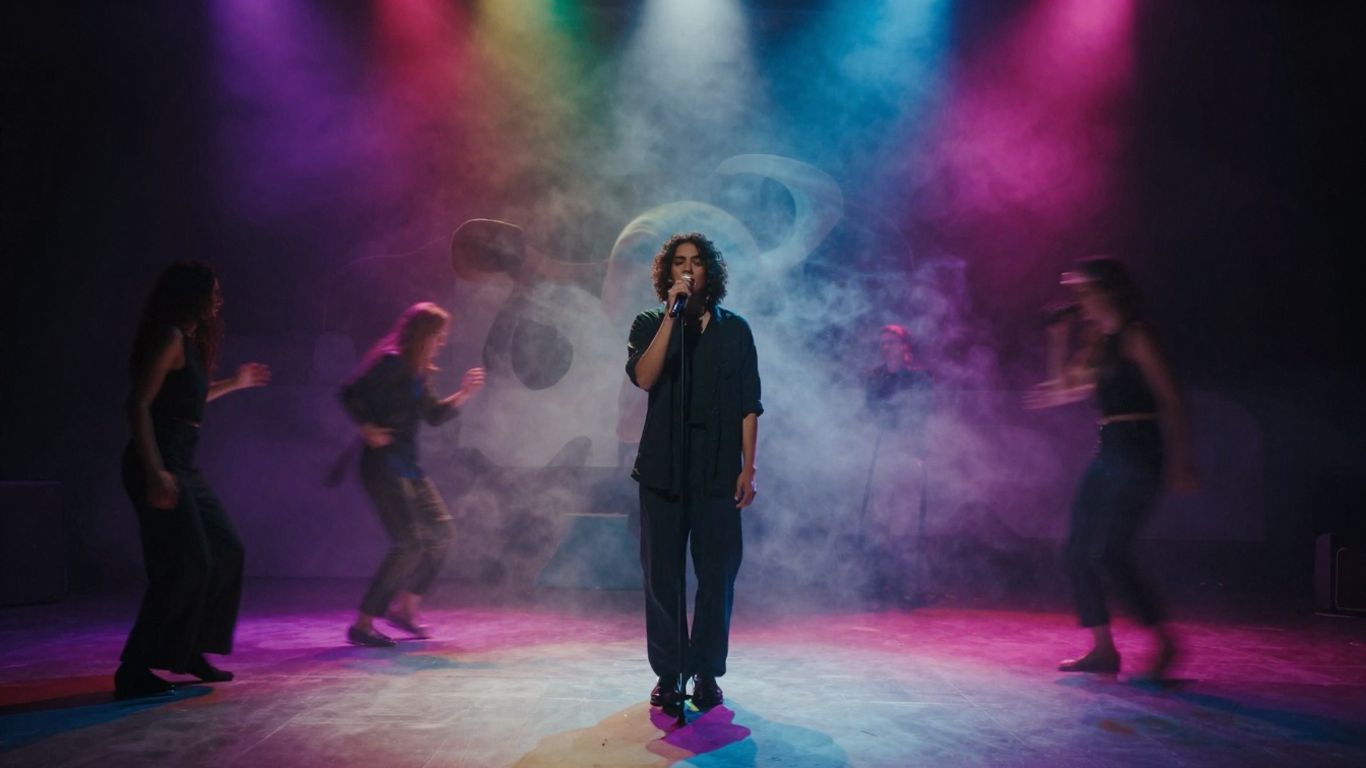
Visual variety is useful only when it still feels like one video. Give the viewer a stable subject, palette, or setting to return to between changes. That makes even unusual scenes feel connected rather than randomly selected.
Build a visual concept instead of unrelated clips
Start with one sentence that describes the video from beginning to end. “A singer walks through an empty hotel as the rooms change with each chorus” gives you a thread. “Different cool-looking scenes” does not.
Use that sentence to decide what belongs in the video and what does not. A scene can be beautiful and still weaken the release if it has no relationship to the song.
Use cinematic, animated, abstract, or performance-based treatments
Cinematic treatment gives you space for atmosphere and narrative. Animation can support stylized lyrics or a fictional setting, while abstract visuals can follow texture, repetition, and sound. Performance-based scenes work when a singing character or artist should remain the center of attention.
The documented visual options cover all of these treatments, so your choice can follow the music rather than a fixed production template. If you want a separate reference for audio-led visual pacing, an audio-led video workflow offers another useful way to think about matching pictures to sound.
Keep recurring colors, subjects, and environments consistent
Pick two or three recurring details and protect them across the whole piece. These might be a red coat, sodium streetlights, a coastal road, or one animated room. Repetition helps the viewer understand that separate generated shots belong to the same song.
If a subject changes appearance between scenes, replace the weakest shot or reduce its screen time. Do not try to explain every inconsistency with more effects.
Add lyric captions when they improve accessibility or engagement
Captions help when the words carry the hook, the vocals are difficult to hear, or viewers may watch without sound. Keep lines short, use strong contrast, and place them where platform controls will not cover them.
Check spelling against your approved lyrics and time each line to the vocal, not just the instrumental beat. For broader accessibility planning, even an unrelated hearing aid guide is a reminder to think about how people with different listening needs experience media.
Choose the right video dimensions
Aspect ratio changes the way you stage a shot. A close subject may work in a vertical frame but feel cramped in a horizontal one, while a wide landscape can lose its main action in a crop. Select the target dimensions early and keep important visual information near the center-safe area.
Use 9:16 for TikTok, Reels, and Shorts
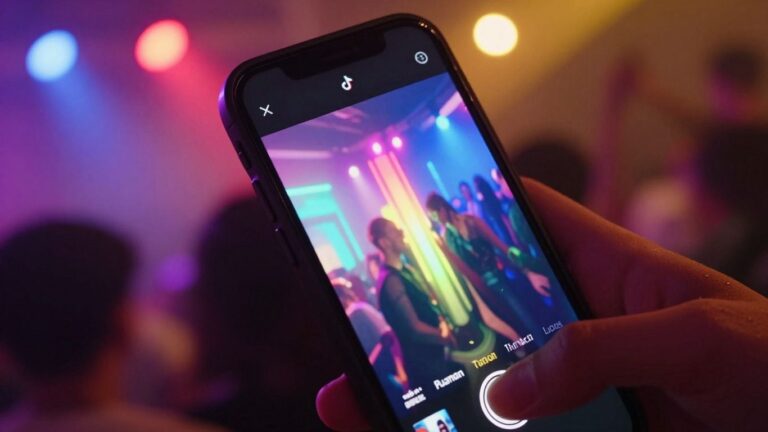
Vertical video gives a phone viewer a direct, full-screen experience. Keep faces, hands, instruments, and lyric captions away from the top and bottom interface zones. Test the crop before you add detailed overlays.
The supported vertical output is 9:16 for TikTok, Instagram Reels, and YouTube Shorts. It is also a useful base for short teasers made from a longer release.
Use 1:1 for square social media posts
Square video remains practical for social feeds and profile grids. It gives you more room on the sides than vertical video, but it still favors a centered subject and compact text.
Use this format when the post needs to sit neatly beside cover art, photos, or other square assets. Check that the focal point survives a thumbnail view.
Use 16:9 for YouTube and standard video players
Horizontal video suits wide environments, group performances, and narrative scenes with movement across the frame. It also gives your title card and end frame more space.
For channel planning, a focused YouTube marketing guide can help you connect the finished upload with titles, descriptions, and a wider release schedule.
Plan important text and subjects around safe areas
Do not wait until export to check framing. Place the face, main action, logo, and first lyric line where they remain visible after platform controls and cropping are applied.
This small check prevents a strong scene from becoming unusable in another ratio. The available export options include 9:16, 1:1, and 16:9, so you can plan a family of versions from the same audio.
Here is a quick comparison before you render:
| Format | Best fit | Framing priority | Common use |
|---|---|---|---|
| 9:16 | Short-form mobile video | Centered subject and tall action | TikTok, Reels, Shorts |
| 1:1 | Social feeds and grids | Compact central composition | Instagram feed and social posts |
| 16:9 | Wide scenes and full uploads | Horizontal movement and room for titles | YouTube and standard players |
Use the table as a planning shortcut, not a rule that limits your idea. A strong concept can work in every ratio when you protect its focal point during generation.
Refine the generated video before publishing
A generated video still needs an editorial pass. You are checking whether the images serve the song, whether the sequence holds together, and whether someone can understand the post on a small screen. Set aside enough time to watch the complete piece without pausing every few seconds.
Check synchronization between sound and motion
Listen for transitions that land on the wrong beat or scenes that ignore a clear change in energy. Pay special attention to repeated hooks, where a small timing error becomes obvious because the listener expects a return.
If the audio is right but the motion is early, shorten or replace the scene rather than changing the song. Keep your approved audio file as the fixed reference.
Replace distracting or inconsistent scenes
Remove shots with strange anatomy, sudden wardrobe changes, unreadable faces, or movement that draws attention away from the performance. You do not need to keep every attractive image the generator produced.
A shorter sequence with a clear subject will usually feel stronger than a longer one full of visual surprises. Keep alternate scenes in a separate folder in case you need them for a teaser.
Balance visual intensity with the song’s energy
Let quiet sections breathe. Constant flashing, rapid cuts, and oversized motion can flatten the difference between a verse and a chorus, even when each shot looks polished on its own.
Use contrast as part of the edit. A calm verse makes the next visual lift feel larger without adding more effects.
Confirm captions, logos, and artwork are readable
Review every word at the size people will actually see it. Check contrast over bright backgrounds, keep logos away from interface controls, and make sure cover artwork is not stretched or hidden by a crop.
For a practical budget check, smart shopping tips can be useful when you are comparing subscriptions, credits, storage, or paid promotion. Keep the spending decision separate from the creative review.
Publish and repurpose the finished video
Your first upload is only one use for the finished work. A full video can support a release announcement, while short sections can introduce the hook, the visual concept, or a lyric that invites comments. Keep the song title and artist name consistent across every version.
Export platform-specific versions
Export the ratio that matches each destination instead of relying on an automatic crop. Check the file after export, especially for missing audio, clipped captions, or a frame that shifted during conversion.
With CREATUS.AI, the documented output formats include 9:16, 1:1, and 16:9. That gives you a straightforward way to prepare vertical, square, and horizontal versions from the same audio workflow.
Create short clips from the strongest sections
Choose moments that work without a long setup: the first chorus, a memorable lyric, a visual change, or a performance close-up. Start the clip close to the musical idea and end before attention drops.
Make several clips with different openings rather than posting the same excerpt repeatedly. Your strongest section may be a quiet line, not always the loudest part of the track.
Write titles and descriptions that identify the music
Put the artist name, song title, and a useful format label in the title when appropriate. The description can add streaming links, credits, lyrics information, and a direct invitation to watch or listen to the full release.
Avoid vague titles that describe only the visual effect. People should know what music they are hearing before they decide whether to stay.
Track watch time, retention, and engagement to improve the next release
Review where viewers leave, replay, comment, or share. A drop during the opening may mean the first shot takes too long, while strong retention around the chorus can tell you which section deserves more short-form edits.
Keep a simple release log with the format, opening shot, clip length, and result. Be careful when interpreting outside content too: critical media analysis is a useful reminder that clicks alone do not explain how a video affects its audience.
Conclusion
You can generate videos for your music without a production team when you make the creative decisions first and let the workflow handle the repetitive parts. Prepare a clean track, choose one visual direction, match the output to the platform, and review every version before you publish. When you are ready to start creating, use a focused concept and turn the finished video into a full release plus several smaller pieces.
Frequently Asked Questions
Can I generate a music video from an existing song?
Yes. Use a finished MP3 or WAV file as the audio source, then guide the visuals with a style, mood, subject, and pacing direction.
What if I do not have a finished song yet?
You can begin with a text prompt, lyrics, or a short description. The resulting song should still receive a timing and consistency review before you use it publicly.
Which music video format should I choose first?
Choose based on your main destination. Use 9:16 for short-form mobile platforms, 1:1 for square social posts, and 16:9 for YouTube or wide video players.
How do I keep AI-generated scenes consistent?
Repeat the same subject details, colors, lighting, and environments in your direction. Replace shots that break the visual identity instead of adding more unrelated scenes.
Should every music video include lyrics?
No. Add captions when the lyrics improve access, comprehension, or engagement. If the visuals already carry the song clearly, a clean performance or visualizer may work better.
How long should a promotional music clip be?
Use the shortest length that delivers a complete musical idea. A hook, striking lyric, or clear visual change can often work better than a clip that begins far before its main moment.
What should I check before publishing?
Watch the full export with sound, confirm synchronization, inspect every caption and logo, check the crop on the target platform, and verify that the title identifies the artist and song.