Key Takeaways
You can turn a still image into a short social video without a full editing setup. Start with a strong source image, describe motion clearly, and check every export before publishing.
- Choose a tool based on whether you need photo animation or audio-led video.
- Prepare sharp images with room for the motion and crop you want.
- Use short, specific prompts instead of asking for too many actions at once.
- Match the aspect ratio, audio, captions, and pacing to each platform.
- Treat free outputs as useful drafts, then refine them with simple editing tools.
Choose the right image-to-video tool for your project
The best image-to-video workflow depends on the result you need, not just the word “free.” A subtle photo animation needs a different process from a music-led clip with scene changes and beat timing. Before you upload anything, decide whether the image is the finished subject, a visual reference, or one scene in a larger sequence.
Photo animation versus full video generation
Photo animation usually adds controlled movement to a single image, such as a slow camera push, hair movement, drifting light, or a small change in pose. Full video generation may build a longer sequence from several visual inputs, so it can introduce more variation and more chances for unwanted changes. If you want a simple social post, one clear image and one motion idea are often enough.
For audio-led work, CREATUS.AI combines text-to-song generation with audio-to-music-video production. That kind of workflow fits a song project better than a tool designed only to animate one portrait or product photo.
Free plan limits, watermarks, and export restrictions
A free plan may limit clip length, output resolution, daily generations, or the number of downloads. Some tools also add a watermark or restrict commercial use, so check the terms before you publish a paid promotion. Free access is useful for testing a visual direction, but it does not always mean the final file is ready for a client.
Write down the limits before you begin. A short test can tell you whether the motion looks right, while the terms tell you whether you can use the result for a store, client, or monetized channel.
When to use a music video generator instead
Use a music video generator when the audio should control the pacing. You may want visual changes to follow tempo, mood, energy, or song structure rather than simply making one photo move. This is also useful when you have an MP3 or WAV file and want a video built around the track.
A music-focused workflow can save time because you prepare the audio first, then choose a visual style and format. For a broader step-by-step reference, music video creation steps can help you plan the sequence before you generate anything.
Privacy and commercial-use considerations
Review how uploads are stored, whether generated files remain private, and what rights apply to the final video. Avoid sending personal photos, private client material, or identifiable people to a service until you understand its data policy. If the video will earn money, confirm commercial-use terms separately from the free-plan description.
Animator Hub is built for adult creators who want private, uncensored image and video generation, with an age-gated 18+ experience. Keep your own records for consent, source ownership, and model terms, especially when a recognizable person appears in the image.
Prepare images that produce better video results
A good animation begins with a good still image. The model can add motion, but it cannot reliably repair a blurry face, a cut-off hand, or a subject hidden behind clutter. Spend a minute checking the source before you spend credits on generation.
Use clear, high-resolution source images
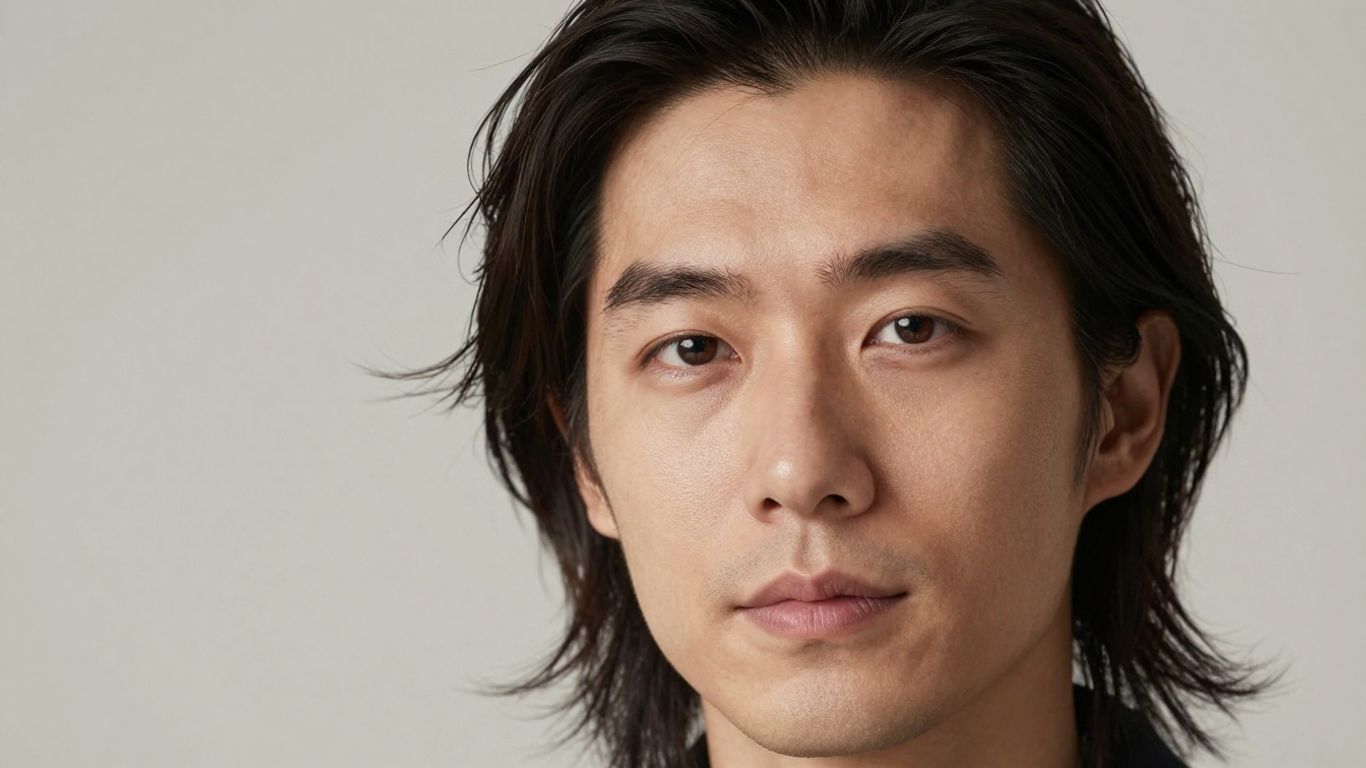
Choose an image with a clear subject, steady lighting, and enough detail around the face or product. Avoid screenshots, heavy compression, and images where the main subject touches the edge of the frame. A clean source gives the model more information to preserve as frames change.
You do not need a huge file for every post. You do need an image that stays sharp when cropped to the target ratio and viewed on a phone.
Match the image composition to the intended motion
Leave visual space in the direction you want the subject to move. A person facing right can work well with a gentle rightward camera move, while a tightly cropped product may need a slow zoom rather than a wide orbit. Motion feels more believable when the starting composition supports it.
Think in one simple action first: “camera moves closer,” “fabric shifts in a breeze,” or “subject turns toward the light.” Specific starting conditions reduce random movement.
Create a consistent set of images for multi-scene videos
Use the same color treatment, subject details, and general framing across a set of images. If one scene has warm indoor light and the next has a cool outdoor look, the final video may feel disconnected even when each clip works by itself. Consistency matters more than having a different visual idea in every frame.
A practical set might include these four checks before generation:
- Keep the main subject’s appearance consistent.
- Use a related color and lighting direction.
- Repeat key props only when they belong in every scene.
- Keep the camera distance similar unless the change is intentional.
After the list, compare the images as thumbnails. If one frame looks like it belongs to another project, fix it before generating motion.
Remove distractions before uploading
Clean up stray objects, accidental reflections, and background details that could be mistaken for part of the subject. Remove private information from screens, labels, documents, and personal photos. A simpler background gives the motion system fewer competing details to interpret.
You can also make a light crop or color correction first. Do not over-edit the image, though, because harsh sharpening and artificial blur may become more obvious once the image moves.
Turn a still image into video with AI
The basic process is straightforward: upload a still, set the frame shape, describe the movement, and review the clip. Your first result is a test of the prompt as much as a test of the image. Keep the first pass short so you can see what the system understood.
Upload the image and choose an aspect ratio
Start with the platform where you will post the video. A vertical frame suits phone-first feeds, while a horizontal frame gives a website or standard video player more width. If you need several versions, generate from the clean source image and check each crop separately.
The free image-to-video guide follows the same basic upload, prompt, and render pattern. Treat the aspect ratio as an early decision, because a late crop can cut off the face, product, or motion path.
Write a precise motion prompt
Describe what moves, how it moves, and what stays still. “Slow camera push toward the subject, soft hair movement, steady facial features, natural daylight” gives the system a clearer job than “make this cinematic.” Add only one or two major actions for the first generation.
Use plain language and mention speed when it matters. Words such as slow, gentle, steady, or sudden help separate a calm product reveal from an energetic social clip.
Select camera movement and visual style
Choose a movement that supports the image. A push-in adds attention to a face or product, a side move reveals depth, and a locked camera works well when the subject itself should animate. Keep the visual style close to the original image unless you want a deliberate change.
You can compare a realistic treatment with an illustrated or abstract treatment, but change one variable at a time. That makes it easier to tell whether the motion or the style caused a weak result.
Preview the result and regenerate weak sections
Watch the entire clip, not only the first second. Check hands, eyes, jewelry, logos, edges, and the background for sudden changes. If one part fails, shorten the prompt or remove the action that caused the distortion instead of adding five more instructions.
Save the strongest version before making another pass. A small folder with the source, prompt, and selected output keeps your process organized and makes successful settings easier to repeat.
Add music, voice, and other video elements
A moving image becomes more useful when its sound and overlays support the same message. Music sets pace, voice gives context, and captions help when viewers watch without sound. Add these elements after the visual motion works, so you can judge the clip clearly.
Match the soundtrack to the video’s pace
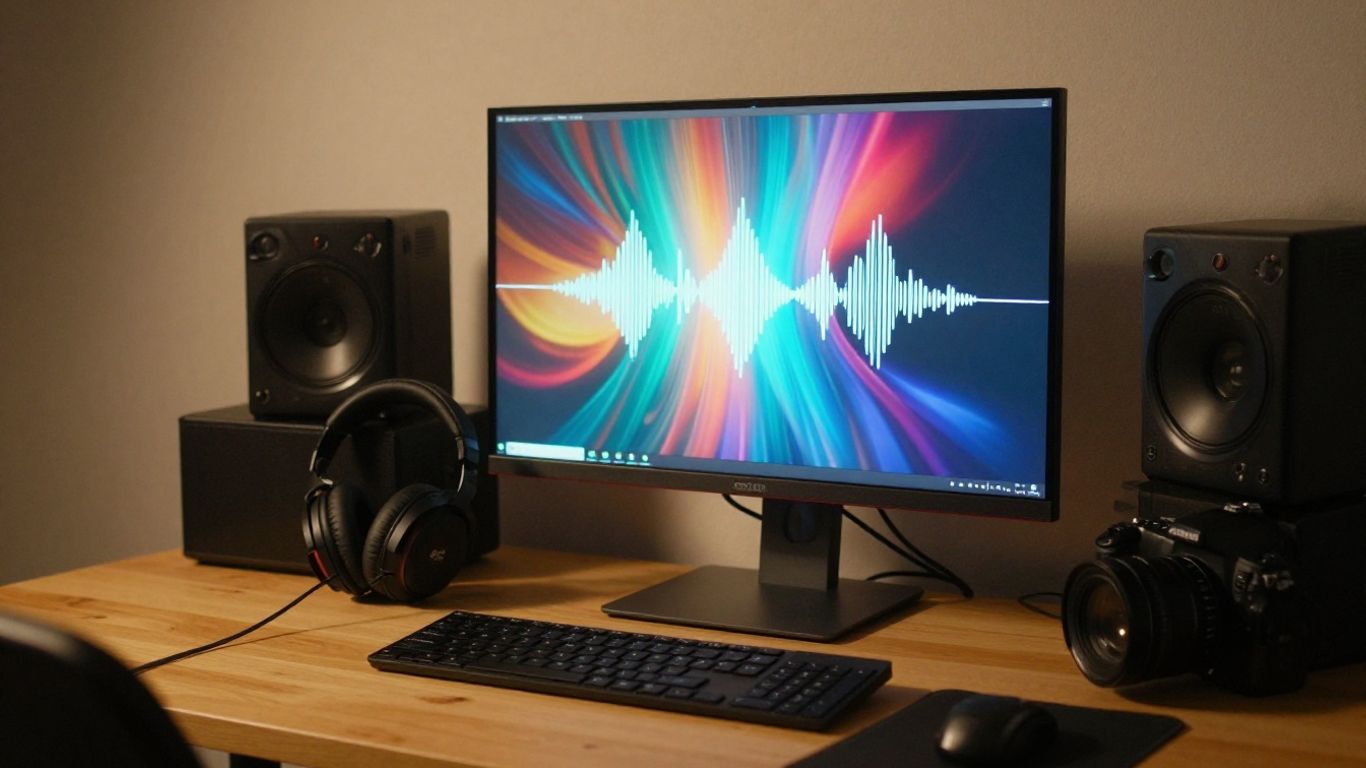
Use slower music for a portrait reveal, product detail, or reflective story. Faster music can support quick cuts, movement, and repeated visual changes, but it also exposes awkward loops. Let the strongest beat or vocal phrase guide the main change rather than cutting on every beat.
For music-led projects, CREATUS.AI supports audio-to-music-video generation from an uploaded track or an AI-generated song. You can also read a practical audio-to-video workflow before choosing your scenes.
Use MP3 or WAV audio for music-based projects
MP3 works well when file size matters, while WAV can preserve more audio detail during production. Check that the file opens correctly, starts at the intended point, and does not contain a long silent lead-in. A clean file makes timing easier to judge.
Keep one finished audio master for the project. If you swap between several edits with different lengths, your cuts and captions may drift away from the version you plan to publish.
Add captions, logos, and calls to action
Add text where it remains readable after cropping. Keep captions away from faces, product details, and platform controls, and use a logo only when it helps viewers identify the source. A short call to action works better than several competing messages.
Check the first and last seconds carefully. Viewers should understand the subject quickly and know what to do next, whether that means visiting a shop, listening to a track, or following an account.
Sync scene changes with beats or narration
Mark the moments where the chorus begins, the narration changes topic, or the main action lands. Use those points for scene changes instead of forcing every visual shift to happen at the same interval. The result feels more intentional and gives the viewer a clear rhythm.
You can build a simple timing sheet with scene name, start time, end time, and overlay. That small step is especially useful when you are producing several versions from the same audio.
Export videos for different platforms
Export settings affect how your work appears after upload. The same source can need three different versions because each platform crops and displays video differently. Decide where the clip will live, then check the final file on a phone before sharing it.
Choose 9:16 for TikTok, Reels, and Shorts
Use a 9:16 vertical frame for TikTok, Instagram Reels, and YouTube Shorts. Keep the subject near the center and leave breathing room at the top and bottom for interface controls. A face or product placed too low may be covered by captions or buttons.
Vertical framing works best when the original image has enough height. If it does not, use a closer crop or create a background treatment that does not compete with the subject.
Use 1:1 for square social media posts
A 1:1 square export fits many feed-based posts and gives you balanced space around a centered subject. It can be a useful middle option when your audience uses several social networks. Check that text and logos stay inside a safe central area.
Square video also works well for album art, product tiles, and simple lyric snippets. Avoid shrinking a detailed vertical scene into a square if the important action becomes too small.
Choose 16:9 for YouTube and websites
Use 16:9 when the video will appear in a standard player, on a website, or in a longer YouTube presentation. Horizontal framing gives landscape scenes and multi-person compositions more room. It may require a different source crop from the version you use for short-form feeds.
A single image can support all three ratios, but the prompt and camera move may need adjustment for each one. Do not assume that an automatic crop preserves the same focal point.
Check cropping, audio levels, and text placement
Watch the exported file after it has been encoded, since a preview inside the generator may not show the final crop or compression. Check the first frame, the last frame, dialogue clarity, music volume, and caption timing. These small checks prevent avoidable publishing mistakes.
Use this quick comparison when planning a set of exports:
| Format | Best fit | Main check |
|---|---|---|
| 9:16 | TikTok, Reels, Shorts | Keep subjects clear of interface areas |
| 1:1 | Square social posts | Keep text inside the central safe area |
| 16:9 | YouTube and websites | Preserve landscape depth and wide framing |
The table is a planning aid, not a substitute for watching the file. Open each version on the device and platform where your audience will see it.
Improve quality without paying for advanced features
You can get better results from a free workflow by reducing uncertainty. Use a clean image, a narrow prompt, and a short clip before you attempt a complicated sequence. Better preparation often matters more than adding another setting.
Start with short clips and focused prompts
Short clips are easier to inspect and regenerate. Ask for one main movement, one camera behavior, and one style direction. If the result is stable, you can extend the idea with another scene rather than asking one generation to do everything.
This approach also saves credits. You find weak prompts early, before spending time on a long render that needs to be discarded.
Generate several variations before editing
Make a few versions with small changes to camera speed, subject movement, or lighting. Do not change every instruction at once. Label the files so you can compare them without relying on memory.
Select the version with the cleanest subject and most natural ending. A slightly less dramatic clip is usually more useful than a flashy one with broken details.
Avoid unrealistic motion and distorted details
Keep movement within the physical limits of the image. A still portrait may support blinking, breathing, hair movement, or a slow turn, but a sudden full-body dance can produce warped hands and shifting clothing. Products need the same care: labels, handles, and symmetrical parts should remain stable.
If a detail keeps changing, remove it from the motion path or use a wider composition. Simple movement gives viewers fewer reasons to stop and question what they are seeing.
Combine free AI outputs with simple editing tools
Use a basic editor for trimming, resizing, captions, audio levels, and final assembly. You do not need a complex timeline to join three short clips or add a clean end card. Keep the AI generation focused on motion, then handle predictable finishing work yourself.
For more social content ideas, social media video ideas can help you turn one finished clip into several posts. Animator Hub can also fit a workflow where adult creators need uncensored image and video generation without watermarks or filtered prompts.
Use image-to-video AI for practical content
Image-to-video works best when the viewer has a reason to keep watching. A product detail, lesson, announcement, or music moment gives the movement a job. Start with the message, then choose the image and motion that make that message easier to understand.
Create product demonstrations for e-commerce
Animate a product photo with a slow reveal, a close detail, or a gentle change in angle. Keep the item’s shape, color, and identifying details stable, then add a short caption that explains the benefit. Avoid motion that makes the product look different from what the customer will receive.
You can make separate clips for a feature, a use case, and a final call to action. Short variations are easier to test than one overloaded advertisement.
Turn educational images into short lessons
Use diagrams, objects, historical photos, or classroom visuals as starting points for short explanations. Add narration or captions that introduce one idea at a time. A gentle pan across the image can guide attention without distracting from the lesson.
If your lesson includes audio, plan the narration first and place visual changes at topic breaks. You can also reference an AI nonprofit guide when considering responsible use, accessibility, and clear goals for educational or community projects.
Make promotional posts for social media
Promotional clips need a clear first frame and a direct message. Show the subject quickly, keep the motion readable on a phone, and place the call to action where platform controls will not cover it. One image can support several posts if you change the opening line, crop, or soundtrack.
Animator Hub gives adult creators a place to generate and remix uncensored images and videos when mainstream tools restrict their intended work. For broader social planning, social media marketing FAQs offer useful context around short-form creatives and calls to action.
Build music and lyric videos from visual assets
Collect a small set of related images, choose a visual style, and let the audio determine the pace. Lyric captions can carry the story when the visuals are abstract, while performance-style imagery can keep the singer or character central. Check every repeated face, hand, and word before export.
A focused music workflow can start with an existing MP3 or WAV file, then move through visual selection, timing, and format checks. If you are also preparing spoken audio, Audioread is a separate example of turning written material into listening content, while a board and train guide shows why unrelated source material should stay out of a focused media workflow. For privacy planning around AI tools, review these AI fraud risks before uploading sensitive business data.
Take The Next Step
When you want an audio-led project rather than a simple photo animation, try CREATUS.AI to turn a text idea or your own song into a synchronized music video, then choose the format that fits your audience.
Conclusion
Image to video free workflows work best when you keep the source clean, the motion prompt focused, and the final export matched to its platform. Test short clips, inspect the details, and use simple editing for the finishing work. With that process, one strong image can become a useful product post, lesson, promotion, or music visual without a large production setup.
Frequently Asked Questions
Can I turn one photo into a video for free?
Yes. Free image-to-video tools commonly let you upload one image, describe movement, and render a short clip, though limits may apply to length, resolution, credits, watermarks, or commercial use.
What type of image works best for AI animation?
Use a sharp image with a clear subject, steady lighting, and enough space around the area you want to move. Avoid heavy compression, clutter, and details cut off at the frame edge.
What should I include in an image-to-video prompt?
State the subject movement, camera movement, speed, lighting, and what should remain stable. Start with one main action instead of combining several complex changes.
Which aspect ratio should I use for social media?
Use 9:16 for TikTok, Reels, and Shorts, 1:1 for square feed posts, and 16:9 for YouTube or websites. Check the crop and text-safe area in every exported version.
Can I add music to an image-to-video clip?
Yes. You can add music in a video editor or use an audio-led workflow that synchronizes visual changes to an MP3 or WAV track. Match the music pace to the amount of movement on screen.
Why do AI video results distort hands or faces?
The model has to infer new frames from a still image, and complex movement gives it more chances to change small details. Use shorter clips, simpler actions, wider framing, and focused prompts to reduce distortion.
Can I use a free AI video in a commercial post?
Only if the tool’s terms allow it. Check commercial rights, source-image permissions, music licenses, privacy rules, and watermark requirements before publishing work for a client or monetized account.