Key Takeaways
You can turn a still image into a short moving visual without paying for a full production setup. The best results come from preparing the image carefully, describing one clear motion, and exporting for the platform where people will watch it.
- Start with a sharp image and the right aspect ratio.
- Use a focused motion prompt instead of a vague request.
- Keep facial and body movement controlled for better realism.
- Match the export dimensions to TikTok, Instagram, YouTube, or presentations.
- Review free-plan limits, image rights, watermarks, and commercial use before publishing.
What image animation does and when to use it
Image animation adds movement to a single still image, turning it into a short video clip or motion graphic. You might add a slow camera push, moving hair, rippling water, or a subtle expression. Image animation for free works best when the original picture has a clear subject and enough space around it. The goal is not to make every part of the frame move, but to give the viewer one reason to keep watching.
How image animation differs from a slideshow
A slideshow changes from one still frame to another, usually with cuts, fades, or pans. Image animation keeps one source image on screen while motion develops inside the frame or through a simulated camera move. That difference makes the result feel more like a video shot, even when you started with one picture.
A slideshow is useful when you need to present several images in sequence. Animation is more useful when one image contains a strong subject, setting, or visual idea that can hold attention for a few seconds.
Common uses for social posts, videos, and presentations
You can animate a portrait for a short social post, add movement to a product photo, or give a presentation cover a gentle visual pulse. Artists also use short clips as backgrounds for songs, opening shots, mood pieces, and promotional edits. A practical photo-to-video guide can help you plan the image, prompt, and export before you generate anything.
Use animation when movement adds context or feeling. A slight breeze can make an outdoor image feel alive, while a slow push toward a product can guide attention without needing a new camera shot.
Choosing between motion effects and AI animation
Traditional motion effects give you predictable control over scale, position, opacity, and timing. AI animation can infer movement from the picture and a text instruction, which saves time when you want water to flow, fabric to move, or a character to turn. Choose the least complex method that gives you the result you need.
Use manual effects for logos, diagrams, screenshots, and layouts that must stay exact. Use AI animation when natural motion or visual variation matters more than frame-by-frame precision.
When a still image should remain static
A still image may be the better choice when the viewer needs to read small details, compare products, or inspect a face without distortion. Animation can introduce flicker, warped edges, or changes to objects that were correct in the original. Keep the source static when accuracy carries more value than movement.
You can still place that image inside a larger video and animate only the transition, background, or surrounding layout. A quiet frame often gives a sequence room to breathe.
Prepare an image for free animation
Good input usually matters more than a complicated prompt. Start with a clean image, decide where it will appear, and remove distractions that could confuse the motion system. If you plan to post the result, prepare a version that already fits the intended frame. These small steps make free generations easier to compare.
Choose the right file type and resolution
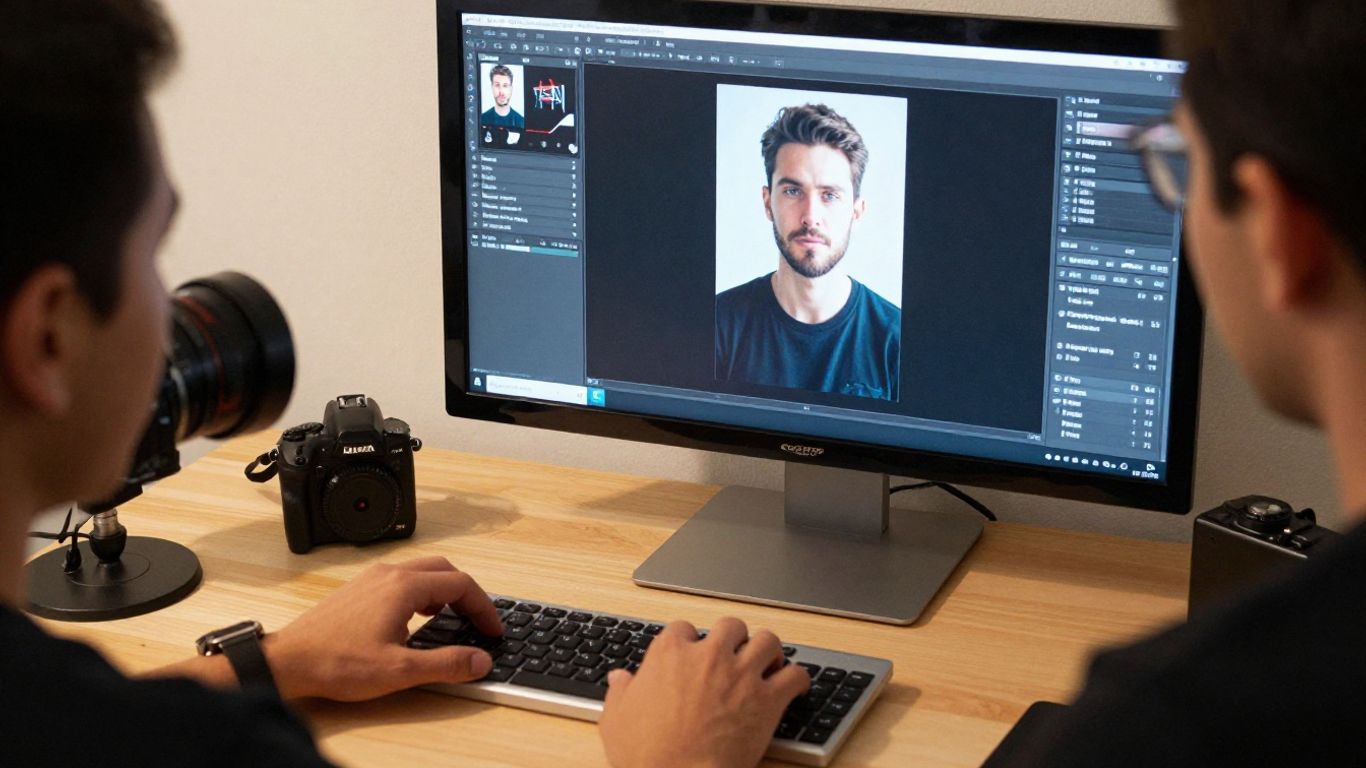
Use a common image format such as JPG or PNG, and choose the clearest version you have. Avoid screenshots with compression artifacts, tiny subjects, or heavy blur around important edges. A larger source can preserve detail, but an oversized file may take longer to process or exceed a tool’s upload limit.
Check the subject’s face, hands, and fine lines before uploading. If those areas are already soft or distorted, animation may make the problem more visible.
Crop the image for vertical, square, or widescreen formats
Choose the final frame before you animate. A vertical crop gives a person or tall object more room, while a square crop suits feed posts and a widescreen crop leaves space for a wider scene. Keep the main subject away from the edges if you expect a camera move.
Make a duplicate for each format rather than forcing one crop into every platform. A useful image-to-video workflow also starts with this basic choice: upload the picture, guide its movement, then review the generated clip.
Separate subjects from backgrounds when possible
A clear separation between the subject and background gives the animation more room to interpret depth. You can remove a busy background, soften it, or use an image with obvious contrast between the foreground and the setting. Hair, transparent objects, thin wires, and overlapping limbs still need careful review.
If you are compositing several images later, save the subject and background as separate layers when your editor allows it. That gives you a fallback when AI movement produces an unwanted edge.
Check image rights before animating or publishing
Only animate images you own, have permission to use, or can legally publish for your intended purpose. This applies to portraits, product photos, artwork, stock assets, and images supplied by a client. Animation changes the format, not the underlying rights.
Keep a record of licenses and approvals, especially for paid campaigns. Free access to a generator does not automatically grant commercial permission, remove a watermark, or clear a recognizable person’s likeness.
How to animate an image for free
The basic process is simple: upload an image, describe motion, set the clip behavior, and inspect the result. Free tools may limit duration, resolution, credits, or downloads, so test with a short version first. If your goal includes audio, plan the visual rhythm before you generate a longer sequence. You can also read a free AI animation guide for a broader view of photo-based workflows.
Upload the image and select an animation style
Choose a style that matches the source instead of forcing a dramatic effect onto a quiet picture. A realistic photo may suit a gentle camera move, while an illustration may handle stronger motion or stylized transitions. Upload the prepared file and check the preview crop before you start.
Keep the first attempt basic. One subject, one setting, and one movement make it easier to see what the tool understood.
Describe the motion you want with a clear prompt
Write what moves, how it moves, and what the camera does. “A woman turns her head slightly while soft wind moves her hair, slow camera push in” gives the system more direction than “make this exciting.” Keep the prompt tied to visible elements in the source.
Useful prompt ingredients include:
- The main subject and its position in the frame.
- One physical action, such as turning, waving, or breathing.
- One environmental action, such as smoke drifting or water rippling.
- The camera behavior, such as a slow pan or gentle push.
After the list, remove anything that competes with the main action. A short prompt with one priority often produces a cleaner clip than a paragraph full of unrelated effects.
Set movement intensity, duration, and framing
Start with low or medium movement intensity, a short duration, and a stable frame. Increase only one setting at a time so you can tell what improved or weakened the result. Leave enough headroom and side space for camera movement, especially in portraits.
If the subject changes shape when intensity rises, step back to the previous setting. A restrained clip is easier to edit into a longer sequence than a dramatic clip with broken anatomy.
Preview the result and regenerate weak sections
Watch the full clip, not just the first second. Look for repeating motion, flicker, face changes, drifting objects, and a camera move that cuts off the subject. If one section is weak, revise the prompt or adjust the settings rather than accepting it because the opening looks good.
For audio-led projects, a music visualizer workflow can be useful when the main goal is synchronized movement around a song instead of natural motion inside one photograph.
Animation styles to try
The right style depends on what the still image already gives you. A calm scene usually needs a small movement, while a graphic illustration may support more visible changes. Test two or three directions, then keep the version that preserves the original subject. If you are building music content, audio-synced video ideas can help connect still-image shots to the pace of a track.
Add camera movement to landscapes and product photos
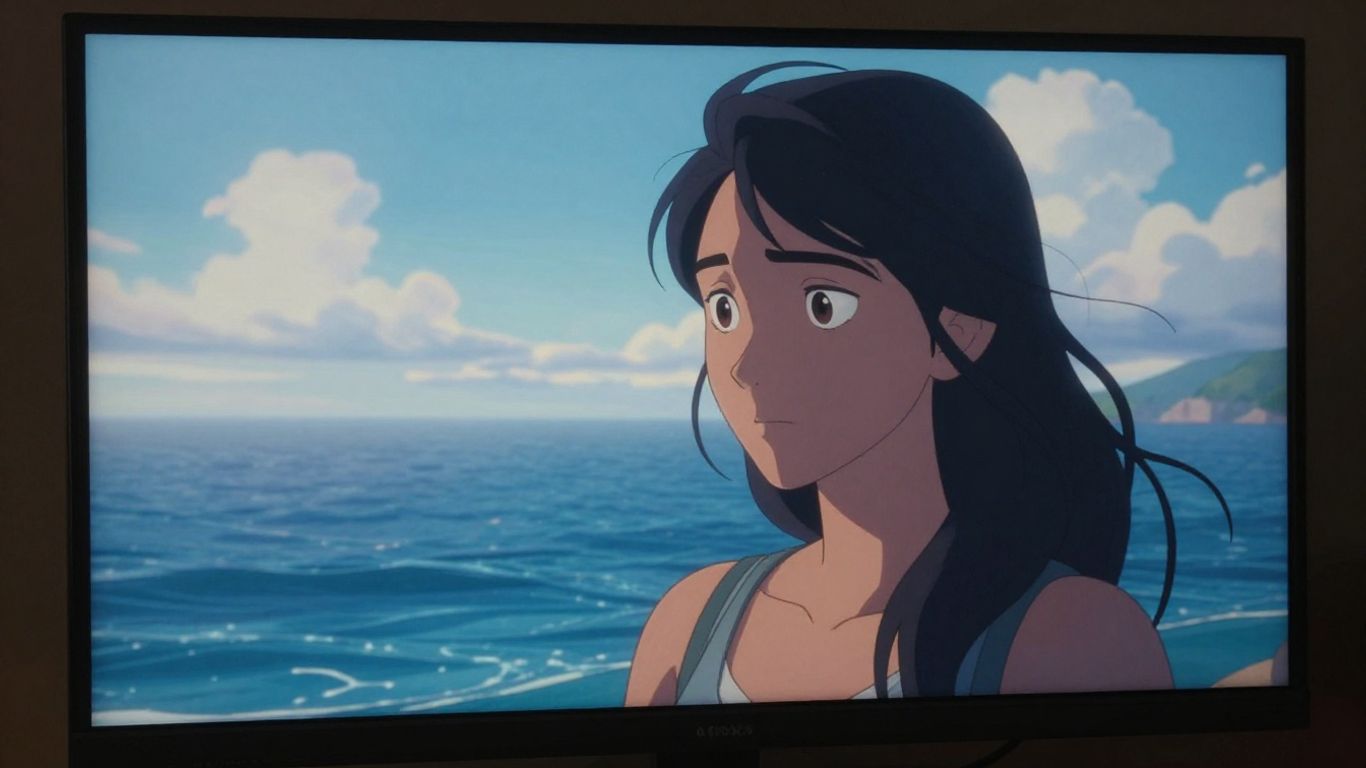
A slow push, side pan, or slight tilt can add depth without changing the subject. For a product image, keep the item stable and move the camera around it. For an outdoor scene, a gradual push toward a focal point can be enough.
State the camera action separately from the subject action. That reduces the chance that the product itself stretches or the horizon shifts.
Animate facial expressions and portraits carefully
Portraits need restraint because small errors are easy to spot. Ask for a slight blink, a gentle head turn, or natural breathing instead of several expressions at once. Keep the face near its original angle and avoid prompts that demand a large transformation.
Check the eyes, teeth, hairline, and hands at normal playback speed. A portrait can look convincing as a still and distracting as soon as those details move incorrectly.
Create motion in backgrounds, hair, water, or smoke
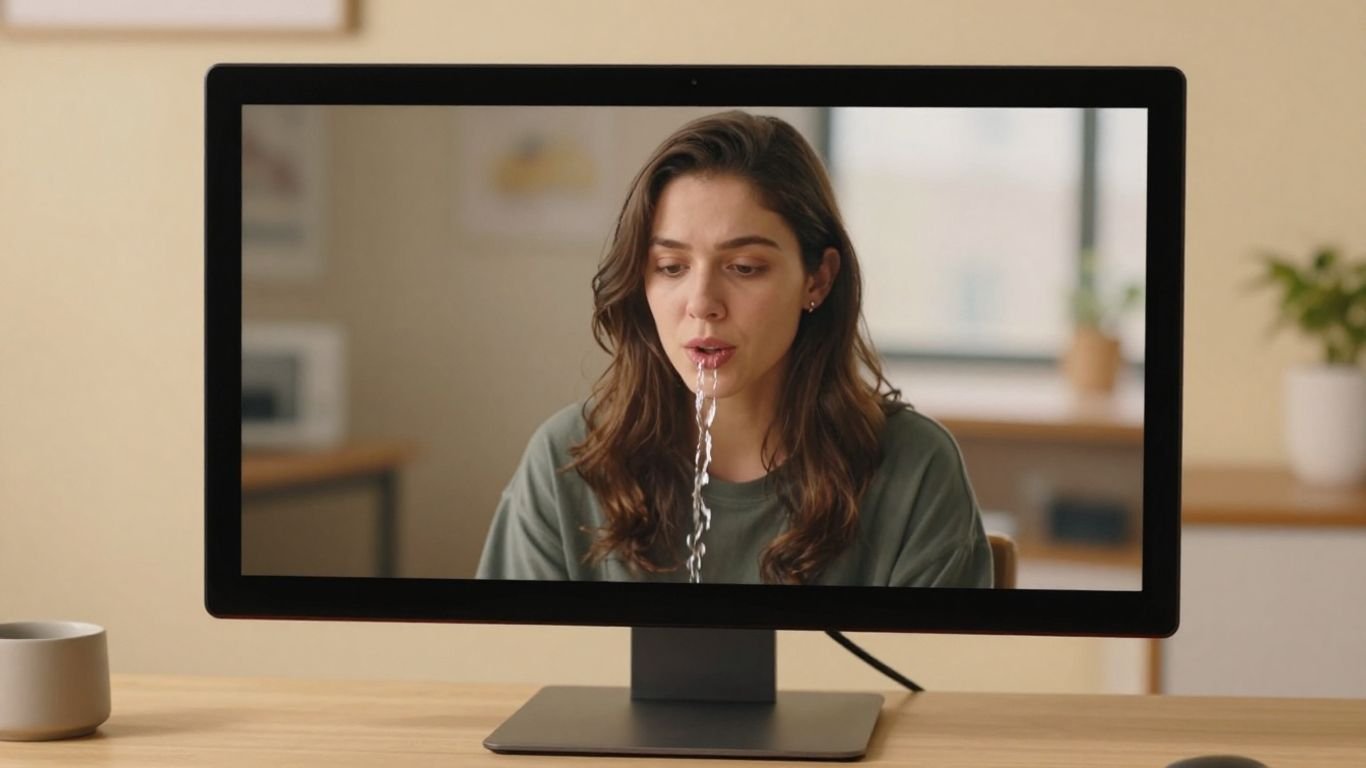
Background motion is a good starting point when the subject should remain fixed. Try a soft breeze through hair, smoke moving sideways, light ripples across water, or clouds shifting slowly. These effects add life while limiting changes to the main object.
Use direction words that fit the image, such as “left to right” or “toward the camera.” Avoid asking for every background element to move at once.
Build lyric videos and music visuals from still images
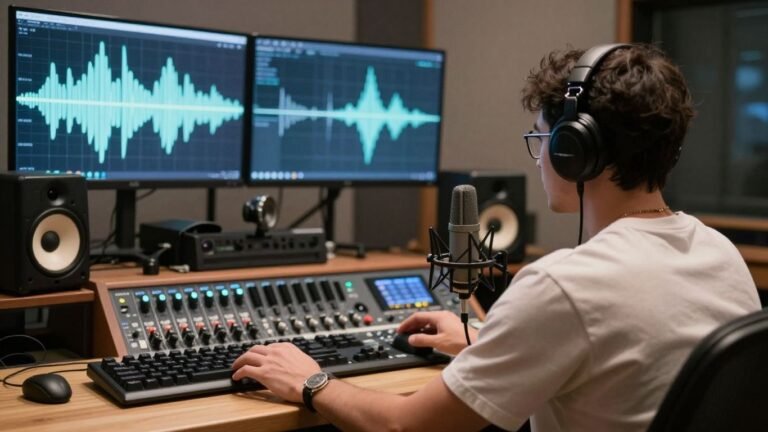
Still images can support lyric videos, cover-art clips, and short music visuals. Add movement to the image first, then place lyrics and timing in a video editor so the text remains readable. If you need a workflow that connects songs and visuals, CREATUS.AI can turn text ideas into songs with AI singing vocals and also produce music videos from audio.
For beat-led work, keep shots short and vary motion between sections. A repeated image can feel intentional when the crop, color, or camera direction changes with the music.
Combine several animated images into one sequence
Generate each image as its own short clip, then arrange the clips around a simple beginning, middle, and end. Keep a shared color treatment or subject direction so the sequence feels connected. Do not expect every generation to match perfectly on the first attempt.
A simple sequence might move from an establishing frame to a detail, then finish on a portrait or product shot. Transitions should support the change rather than hide every inconsistency.
Export image animations for different platforms
Export decisions affect how your work looks after upload. Choose the frame shape first, then check duration, compression, and text placement. A clip that looks balanced on a desktop may crop a face or product on a phone. Keep a clean master file before making platform-specific versions.
Use 9:16 for TikTok, Reels, and Shorts
Vertical video fills a phone screen and gives tall subjects more space. Place faces and important objects near the center, leaving safe margins for interface controls and captions. Review the crop at full-screen size before publishing.
Use a shorter opening when the clip is meant to stop scrolling. The first movement should begin early, but it does not need to be aggressive.
Use 1:1 for social feeds and product posts
Square video works well when the source image has a centered subject or balanced composition. Keep product edges, faces, and logos away from the outer frame. If the original image is wide, crop with care so the animation does not remove the context that makes it useful.
Prepare a separate square version when possible. Reusing a vertical crop can leave too much empty space or make the subject feel cramped.
Use 16:9 for YouTube and presentations
Widescreen gives you room for broad scenes, side-by-side layouts, and presentation text. It also suits a slow pan across a detailed image. Keep movement smooth because large screens make jitter and warping easier to notice.
If the source is vertical, use a designed background or a controlled crop instead of stretching it. Preserve the subject’s proportions even if that means leaving space around it.
Balance video quality, file size, and loading speed
A larger export is not always the best export. Check the platform’s requirements, watch the file on the device your audience uses, and compress only after the motion looks clean. Keep one high-quality version for editing and a lighter copy for quick sharing.
| Destination | Frame shape | Best starting approach | Main check |
|---|---|---|---|
| TikTok, Reels, Shorts | 9:16 | Center the subject | Safe space for interface elements |
| Social feeds | 1:1 | Use a balanced crop | Keep edges and text visible |
| YouTube | 16:9 | Preserve wide context | Watch for jitter on larger screens |
| Presentations | 16:9 | Keep motion restrained | Maintain readable overlays |
The table is a starting point, not a rule for every platform. Preview each export where it will appear, then adjust the crop or compression if the subject loses clarity.
Improve the quality of free image animations
Weak results usually come from too many requested actions, a poor source image, or settings that push motion too far. Make one change per new generation so you can learn what the tool responds to. Save the strongest prompt and settings as a reusable starting point. Animator Hub provides an uncensored AI video and image studio for adult creators, so its broader image and video context may suit projects that mainstream tools restrict, while you should still review every output before sharing.
Use prompts that define subject, motion, and camera action
Put the subject first, followed by one physical movement and one camera instruction. Add speed and direction only when they help. For example, “close portrait, subject blinks once, hair moves in a light breeze, locked camera” is specific without asking for a full performance.
Avoid stacking unrelated actions such as walking, dancing, turning, changing clothes, and zooming in one short clip. Each added action creates another chance for the image to drift.
Keep movement subtle when realism matters
Small movements often look more believable than large ones. A blink, breath, fabric shift, or slow camera move can add enough life for a social post or edit. Strong motion works better when the source already suggests action and has clear body positioning.
Compare the animated clip with the original still. If the movement changes the subject’s identity or structure, reduce intensity and shorten the prompt.
Fix flicker, warping, and unwanted object changes
Flicker can come from a busy background, fast movement, or inconsistent lighting. Simplify the scene, reduce motion, and describe what must stay still. If an object changes shape, place it earlier in the prompt and remove actions that compete with it.
Generate several short options instead of relying on one long take. You can cut around a weak moment, but a distorted frame is difficult to repair later.
Match animation timing to music or voiceover
Listen to the audio before choosing clip length. Use a clear beat, pause, or vocal change as the point where a new animated image begins. For a song, you can use a visual style guide such as music video timing tips to match pace, color, and movement to the track.
Do not force every motion to land on a beat. Let slower images sit under calmer passages, then use quicker cuts when the audio has more energy.
Add captions, branding, and transitions in a video editor
Finish the presentation in an editor after the image animation is stable. Add captions, logos, color adjustments, and transitions there so those elements stay sharp and consistent. This also lets you trim unwanted frames without regenerating the entire clip.
Check that captions do not cover the subject or platform controls. If you are working for a client, keep the original animated files and the final edit in separate folders.
Compare free image animation workflows
There is no single best workflow for every project. Your choice depends on how much control you need, whether audio drives the visuals, and how many images you plan to process. Free tools are useful for tests and short posts, but their limits can affect duration, credits, watermarks, and export options. Animator Hub is one option for adult creators who want a no-limits AI video and image studio, while the exact workflow should still match your source material and publishing needs.
Use an AI image animator for fast results
An AI image animator suits quick experiments and short clips from one picture. You upload the source, describe the motion, and review a generated result without building every keyframe yourself. This is a good fit when speed matters more than exact control.
Keep expectations realistic. Free access may include quotas or output restrictions, and the result still needs a quality check before publication.
Use a general video editor for manual control
A general editor gives you direct control over keyframes, crops, layers, captions, sound, and transitions. It is the safer route for logos, product layouts, presentations, and any image where the geometry must not change. You can still add a generated clip as one layer inside that project.
Manual editing takes longer, but it makes the final timing predictable. Use it when the edit itself is the creative priority.
Use a music video generator for audio-synced visuals
Choose an audio-led workflow when the song or voiceover should determine the visual pace. Some tools analyze the audio and produce synchronized visuals, while others let you upload a track and select a visual style. A guide to free AI music videos can help you compare audio preparation, visual choices, and export limits.
For a two-in-one workflow, CREATUS.AI is documented as handling text-to-song generation with AI singing vocals and audio-to-music-video production. It supports MP3 and WAV uploads and exports 9:16, 1:1, and 16:9 video, which can reduce the need to move between separate music and video tools.
Know when a paid plan or professional tool is justified
Pay when you need more generations, longer clips, cleaner exports, commercial rights, or consistent support for repeated client work. Stay with a free workflow when you are testing an idea, learning prompts, or making a one-off personal post. Read the current plan terms before you commit.
Your image rights, subject consistency, and final review matter at every price level. A paid generation cannot fix an unsuitable source image or an unclear brief.
Try a music workflow
If your still images are part of a song project, send your prompt or audio to make a music video and build the visual around the track. Start with a short section, check the format, and expand only after the timing feels right.
Conclusion
You can create strong moving visuals from still images by starting with a clean source, choosing one clear motion, and checking every export on its intended platform. Keep movement controlled, use manual editing when precision matters, and let audio guide the sequence when the project is music-led.
Frequently Asked Questions
Can I animate an image for free without editing experience?
Yes. Many free workflows use an upload, a motion prompt, and a generated preview. You still need to inspect the result and may need a simple editor for captions, trimming, or transitions.
What image format works best for animation?
JPG and PNG are common starting points. Use the clearest source available, avoid heavy compression, and check whether the chosen tool has file-size or resolution limits.
How long should an animated image clip be?
Start with a short clip of a few seconds. Shorter generations are easier to review, reuse, and place against music or voiceover without exposing repeated or distorted movement.
What should I write in an image animation prompt?
Name the subject, describe one visible action, and state the camera movement if you want one. Add direction or speed only when those details improve the instruction.
Why does my animated image flicker or warp?
Busy backgrounds, high movement intensity, unclear subjects, and several simultaneous actions can cause instability. Simplify the prompt, reduce motion, and try a cleaner crop or source image.
Which aspect ratio should I choose?
Use 9:16 for TikTok, Reels, and Shorts, 1:1 for many social feed posts, and 16:9 for YouTube or presentations. Prepare separate crops when the subject does not fit comfortably in every frame.
Can I publish a free animated image commercially?
That depends on the tool’s current terms, the source image rights, and the plan you use. Check commercial permissions, watermark rules, and licenses before publishing paid or client work.