Key Takeaways
To master your production, focus on tight synergy between the song and the movement to ensure a cohesive end result. Following these core steps will help you refine your videos.
- Write specific prompts defining instrument roles and vocal intensity.
- Choose genre parameters that match your intended visual vibe.
- Lock movement patterns to specific audio timestamps.
- Use consistent styling seeds across disparate image generation sequences.
- Export projects in native dimensions for each social platform.
Optimizing the foundational audio output
Starting with a clean audio base remains the most reliable way to ensure your final product sounds professional and grounded. If your initial audio mix feels muddy or disconnected from your vision, the visual results will suffer proportionally. You should treat the music generation as the primary anchor for every subsequent design decision.
Writing descriptive text prompts for music generation
Start your prompt by defining the specific instrumentation you envision, such as "heavy bass synths" or "acoustic fingerstyle guitar." Avoid vague instructions like "make a good song" because the AI functions best when it receives concrete details regarding mood and arrangement. Precise prompts help you achieve high-quality results from the Creatus AI Music Video Generator. You can experiment with AI-generated voiceovers to add character if your song requires narrative components.
Selecting the right genre and tempo parameters
Pick a genre that aligns with the visual aesthetic you plan to generate later, as upbeat tracks naturally demand faster visual cuts. Faster tempos usually require more frequent scene changes or higher motion intensity to keep the audience interested. Many platforms like Flixier’s AI Audio Enhancer show how clarity in genre definition impacts your total output volume and consistency across your track.
Balancing vocal clarity and instrumental layering
Ensure your composition leaves enough frequency space for the vocals to stand out without being crowded by loud synthesizers. You can evaluate the balance of your track by checking these primary characteristics during generation.
| Attribute | Expected Outcome | Priority Level |
|---|---|---|
| Vocal Presence | Clear and centered | High |
| Bass Frequency | Deep but restrained | Medium |
| Percussion Edge | Sharp and defined | High |
After examining these settings, you may decide to re-generate the track if the energy does not match your creative goal. A well-balanced mix provides better data for the audio-to-video conversion process to detect strong beat markers.
Crafting consistent visual narratives
Creating a cohesive story requires you to maintain a visual thread that spans multiple generations and scene transitions. If your characters or environmental details change too drastically between shots, the viewer loses focus on the narrative arc. Establishing a clear visual baseline is the best way to keep your audience engaged.

Maintaining thematic consistency across image sequences
When generating multiple images, use the same prompt subject throughout to prevent jarring identity shifts. You must keep your descriptors steady, changing only the orientation or action of your subject in each step. Think of this as maintaining a visual identity that persists through complex environments, similar to how one might rely on consistent decision rules to steer a project.
Using controlled style references for prompt engineering
Style references allow you to enforce a specific color palette and lighting condition across different shots. By specifying details like "cinematic lighting" or "desaturated vintage color," you teach the model to treat each frame as part of the same production. This technique is similar to how you might plan your Miami yacht rental to ensure every visual and auditory detail fits your exact party theme for the day.
Avoiding visual chaos through restrictive generation settings
Restrictive settings help reduce the noise that often occurs when the AI struggles to interpret too many active objects. Try limiting the number of subjects in your frame to keep the focus sharp and ensure the viewer knows exactly where to look. When the environment is too full, visual impact decreases, which is why simplicity in your generation settings often leads to higher quality results.
Achieving high-fidelity motion and frame stability
Motion in AI media often creates unintended distortions if you allow the generator too much creative freedom. You should target smooth, predictable movement that supports the viewer’s eye path rather than distracting from it. Controlling the intensity of every movement is key for maintaining high-quality outputs.
Managing motion intensity to prevent architectural distortion
Limit motion intensity when your shot includes complex buildings or geometric patterns that usually break under high stress. When movement settings are set too high, the AI stretches pixels, which creates blurry edges and warped lines. You should monitor the generation closely, especially when utilizing Utool – AI Video & Photo Enhancer to sharpen the final output later.
Determining optimal frame rates for cinematic smoothness
Select a frame rate that matches the rhythm of your audio, as faster frame rates feel more energetic while slower rates imply a cinematic weight. Most platforms operate best at standard cinematic rates, which prevent the motion from looking robotic or jittery. You can also fix minor stutters by passing your clips through an AI Video Enhancer to improve fluidity.
Utilizing AI upscaling tools for resolution enhancement
Upscaling pulls latent detail from your original generation, turning low-resolution output into sharp, display-ready assets. Do not rely entirely on the initial generation for resolution, as specialized tools provide much better clarity at double the scale. This extra step is the most effective way to address pixelation before you publish.
Mastering beat synchronization and technical timing
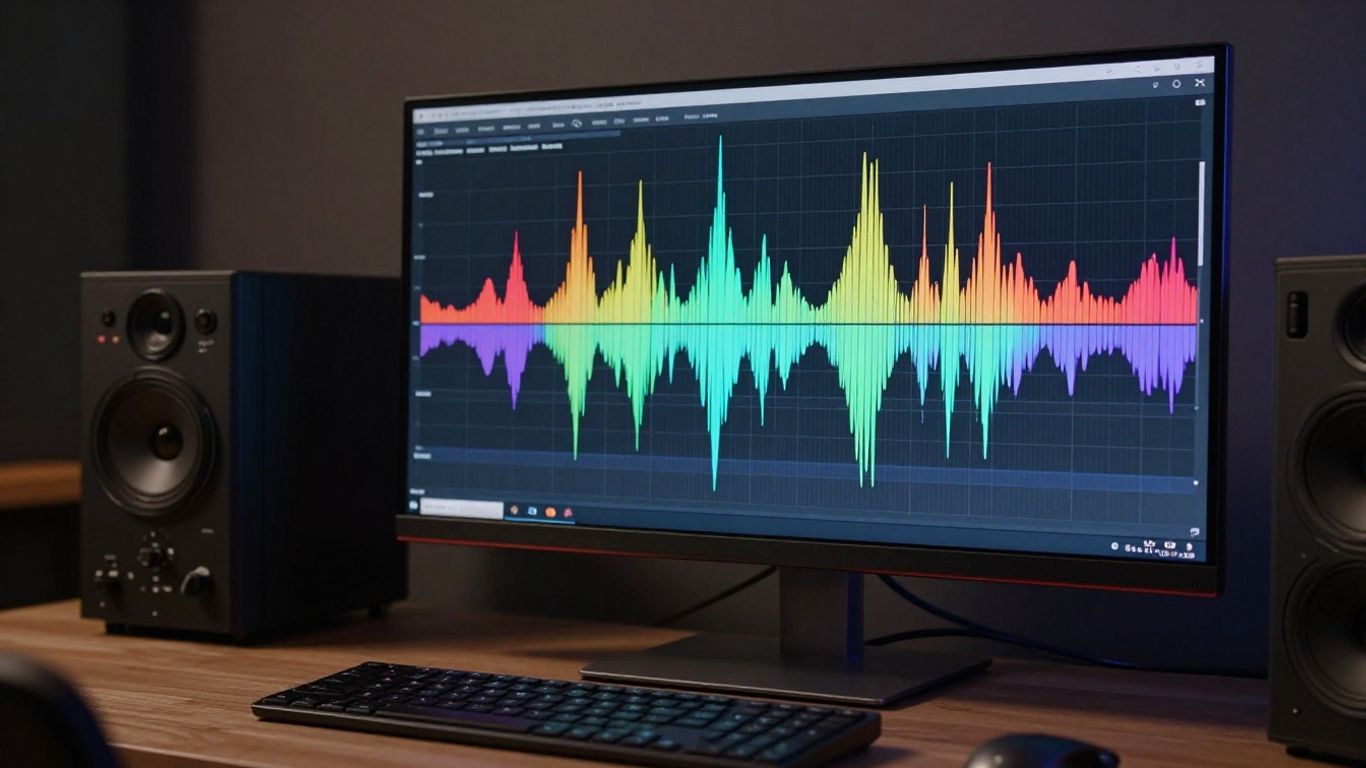
Timing represents the difference between a amateur production and a professional music video. If your transitions land off-beat, the cognitive dissonance distracts the listener from the audio. You must treat your audio waveform as the literal timeline governing every edit point.

Aligning scene transitions to structural audio markers
Identify the loud hits or structural changes in your song before you generate the corresponding visual clips. Use these specific seconds to trigger a new scene, which makes the video feel as if the music drives the visual change. For a comprehensive experience, use Kapwing’s free AI Video Enhancer to clean up those transitions if they feel slightly misaligned.
Implementing rhythm-reactive generation patterns
Some producers prefer using patterns that follow the rhythm of the track, such as pulsing light or strobing colors that match the kick drum. You can achieve this by modifying your prompt intensity to rise and fall with the energy levels you see in your mixer. When your visuals breathe with the music, they create a stronger emotional bond with your audience.
Varying shot velocity for dynamic music pacing
- Use slow motion during slower, melodic parts of the track.
- Increase the velocity of your cuts during high-energy choruses.
- Pause the movement entirely on heavy, resonant closing notes.
Changing the velocity helps clarify the structure of your song, allowing the viewer to anticipate the next shift. This pacing keeps the viewer interested throughout the entire duration of the clip.
Leveraging platform-integrated workflows for efficiency
Switching between five different tools often destroys your internal creative momentum. You gain speed by consolidating your creation, animation, and editing steps within a single unified workspace. Efficiency is not just about time; it is about keeping your creative vision continuous from start to finish.
Combining text-to-song and video generation in one interface
Generating both your track and your video in a single location ensures that the meta-data keeps the assets aligned. This removes the need for manual file transfers, which often lose quality and eat up hours of your production week. Using tools that manage both tasks means your music generation is already aware of the video’s pacing requirements.
Employing auxiliary AI suites for asset refinement
Sometimes an auxiliary background tool helps with specific tasks like denoising or sharpening faces. You should keep these secondary tools in your queue to polish small errors that occurred during the initial batch generation. A quick refinement cycle ensures the final delivery looks polished rather than raw.
Streamlining project iterations through unified configuration
Keep a template for your generation settings so you do not have to reset your style parameters every time you start a new track. Unified configurations allow you to test concepts much faster, letting you discard weak ideas and double down on successful ones. Efficiency thrives when you stop tweaking settings and start focus-testing your actual output.
Tailoring video output for social media platforms
Platforms have different requirements that force you to prioritize different visual aspects of your video. You need to understand where your content lives, as a 16:9 cinematic shot creates a completely different experience compared to a 9:16 vertical scroll. Your video’s success relies on whether it feels native to the user’s specific viewing habit.
Formatting visual compositions for mobile-first engagement
Vertical framing puts your subject at the center of the mobile screen, which captures attention much faster than a wide horizontal shot. Always prioritize your subject’s placement during the generative phase so you do not have to crop out key elements later. Clear, bold subjects work best because mobile screens have limited real estate for smaller details.
Optimizing resolutions for wide-screen display standards
If your audience watches on tablets or desktop computers, ensure your output supports horizontal resolutions without losing quality. Scaling a vertical video for a wide screen often leaves black bars that feel messy, so generate horizontal-native versions if your focus shifts to desktop engagement. High fidelity in horizontal modes shows that you care about the viewer’s setup.
Adjusting visual density for high-traffic social feeds
On a busy feed, you need to stand out immediately, which often means lowering visual density so the core idea remains clear at a glance. Too many colors or fast-moving elements might look great on a monitor but fail on a small, fast-scrolling screen. By keeping your visual density clean and your intent clear, you improve your chances of catching a viewer’s eye.
Conclusion
Improving your AI music videos requires a balanced approach to audio composition, visual consistency, and technical synchronization. By focusing on these core elements and using integrated workflows, you set yourself up to produce content that stands out in a crowded digital space while keeping your production time manageable.
Frequently Asked Questions
How can I make my AI music more unique?
Provide specific details in your prompts about the instruments, atmosphere, and rhythmic structure you want to capture instead of relying on broad genre labels.
Should I generate video before or after the audio?
It is almost always better to generate the music first so you can use the audio’s structure and beat markers as a direct map for your visual transitions.
What causes choppy movement in AI videos?
Choppy movement usually happens because the motion intensity is set too high for the available frame rate, causing the generator to struggle with object tracking between frames.
Can I use the same character across different videos?
Yes, by using consistent style references and keeping your prompt parameters identical, you force the AI to keep the subject’s appearance stable over multiple generations.
How do I stop the AI from distorting buildings?
Lowering the motion intensity settings will significantly reduce architectural distortions, especially in videos featuring cityscapes or geometric structural designs.
What is the best way to handle social media cropping?
Design your shots with the final aspect ratio in mind from the beginning, ensuring your subject stays centered and clear according to your target platform’s requirements.
Why does the video quality look different after exporting?
Exporting to different platforms often triggers compression, so generate and save your files in the highest possible native resolution to mitigate the impact of external processing.