Key Takeaways
You can turn a song idea or finished audio file into a shareable music video without a full production crew. The strongest results come from matching the visual plan to the music before you generate anything.
- Start with either a text idea or an existing MP3 or WAV file.
- Choose a video format that fits your song and release goal.
- Use tempo, mood, energy, and structure to guide the visuals.
- Generate separate versions for vertical, square, and horizontal platforms.
- Review timing, consistency, captions, and export quality before publishing.
Choose the right starting point for your music video
Your first decision is simple: are you building the song and video together, or do you already have audio ready? Both routes work, but they call for different preparation. Define the audience and intended platform early so your visual choices support the release rather than forcing a late rework.
Turn a text idea into a complete song
A text prompt can describe the genre, mood, tempo, lyrics, or rough idea you want to hear. The AI then composes original music and adds singing vocals, giving you a complete song to review before you move into video generation. CREATUS.AI combines text-to-song generation with audio-to-music-video production in one tool, which suits a short path from idea to finished clip.
Keep the prompt focused. A few clear musical and lyrical directions usually give you more control than a long paragraph filled with conflicting references.
Upload an existing MP3 or WAV file
If your track is already finished, start with the cleanest MP3 or WAV export you have. Remove accidental silence at the beginning, check that the file plays correctly, and use the final mix rather than a rough demo when possible. The video generator can analyze the audio and create visuals that respond to tempo, mood, energy, and song structure.
This route gives you more control over the music itself. You can focus your effort on visual direction, timing, and the way the video supports the release.
Decide between a lyric, performance, narrative, or visualizer format
Choose the format based on what the viewer needs to see. A lyric video puts the words first, a performance format centers a singer or character, a narrative format follows events, and a visualizer uses movement, color, and shape to respond to the sound.
Your choice should also reflect the song. A story may suit a track with a clear emotional arc, while an abstract visualizer can work better for instrumental music or a song with no fixed storyline.
Match the video approach to your audience and release goal
A short social teaser does not need the same pacing as a full YouTube release. Decide whether you want to introduce the hook, support a launch, accompany the whole track, or give listeners a visual reason to replay the song. That decision affects length, framing, captions, and how quickly the first scene needs to communicate.
A useful song-to-video workflow can keep these choices in order, from the initial prompt through audio preparation, visual generation, and export.
Prepare your song and creative direction
Good inputs give the generator a clearer target. Before you press generate, write down the song’s emotional center and the visual details you want to repeat. You do not need a screenplay, but you do need enough direction to prevent every scene from feeling unrelated.
Define the genre, mood, tempo, and visual atmosphere
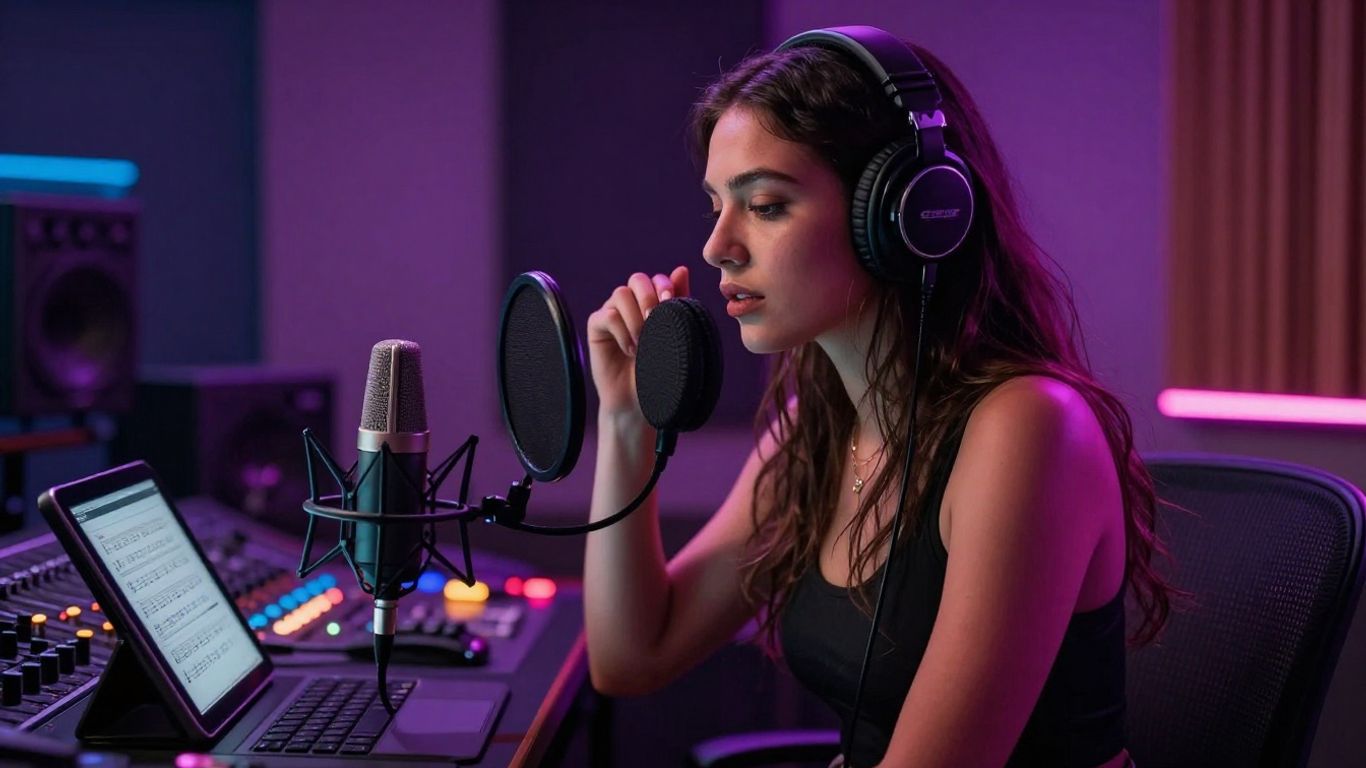
Name the genre and describe the feeling in concrete terms. Add tempo when it matters, then choose a visual atmosphere such as warm studio lighting, a moonlit street, saturated neon, dusty daylight, or soft monochrome. Specific visual anchors help the generated scenes feel like parts of one video.
Avoid stacking too many styles. If you ask for retro film grain, glossy futurism, hand-drawn animation, and documentary realism at once, the output may shift direction from scene to scene.
Write lyrics or prompts that support clear visual ideas
Lyrics with concrete places, objects, actions, and characters give you more material for scenes. If the song is already written, mark lines that suggest movement or a strong image. If you are writing a prompt, connect the subject and setting to the mood instead of listing disconnected adjectives.
For a song about distance, for example, recurring trains, empty rooms, and changing weather provide stronger visual material than simply asking for a sad video.
Identify key moments such as the hook, chorus, and bridge
Mark the opening, first hook, chorus, bridge, instrumental break, and ending. These moments can guide changes in camera distance, color, movement, or location. You can then judge the first render against the structure of the song rather than treating every second as equally important.
A simple beat map is enough. Note where the energy rises, where the vocal becomes intimate, and where the arrangement leaves room for a visual pause.
Set expectations for AI-generated vocals and visuals
AI-generated vocals and visuals can give you a strong starting point, but they may not follow every detail of your prompt. Vocal phrasing, character appearance, hands, objects, and background continuity may need review. A plain-language Generative AI guide is useful background when you want a clearer view of model strengths, limits, transparency, and accountability.
Treat the first result as a working version. You will get a better final video by checking it closely and refining the direction than by expecting one prompt to solve every detail.
Generate a song and music video in one workflow
An integrated process reduces the number of files and handoffs you need to manage. You can create a song from a text idea, use the resulting audio, choose a visual approach, and inspect the first video in the same general sequence. That keeps the music at the center of the visual decisions.
Create a track with AI singing vocals
Begin with the text description or lyrics you prepared. Include the genre, mood, tempo, and vocal direction, then listen for whether the arrangement supports the intended video. If the chorus lacks contrast or the pacing feels flat, revise the song before spending time on visual generations.
The Creatus AI Music Video Generator supports text-to-song generation with AI singing vocals and can then use the generated audio for the video stage. Keep a saved copy of each version so you can compare changes without losing a useful take.
Import your finished audio into the video generator
For an existing song, upload the MP3 or WAV file and check that the full track is present. For an AI-generated song, confirm that the version you liked is the one being sent to the video stage. File names such as track_final_v3.wav may feel boring, but they prevent avoidable mix-ups.
Listen to the first few seconds after import. A missing intro or clipped tail can make the visual timing look wrong even when the generator is working as expected.
Select a visual style that fits the song
Choose from a visual direction such as cinematic, animated, abstract, lyric video, or performance. Then narrow the palette, setting, subject, and camera feel. The more consistent these choices are, the easier it is for the viewer to read the video as one piece.
Do not select a style only because it looks impressive in a preview. It should support the song’s pace and emotional temperature.
Review the first generated version before exporting
Watch the complete first version with sound, not just a few attractive frames. Check whether the opening earns attention, whether the chorus feels larger than the verse, and whether the visuals change when the music changes. Write down specific corrections before generating another version.
A first render is useful because it reveals mismatches that are hard to predict from a prompt. Fix the largest problem first, then make smaller adjustments in the next pass.
Build visuals that stay connected to the audio
A music video works when the images feel attached to the song rather than placed underneath it. Let the arrangement control the pace, and give important lyrics or instrumental moments enough visual space. Repetition is helpful when it creates a recognizable visual thread.
Use rhythm, energy, and song structure to guide scene changes
Fast percussion can support shorter shots and stronger movement, while a quiet verse may benefit from longer takes and restrained camera motion. Reserve major changes for the hook, chorus, bridge, or a clear shift in the arrangement. This makes the edit feel musical without requiring every beat to trigger a new scene.
For more audio-focused ideas, an audio visualizer guide can help you think about synchronization, background music, and movement without turning the video into visual noise.
Choose between abstract animation and story-driven scenes
Abstract animation gives you flexibility when the lyrics are open-ended or the track is instrumental. Story-driven scenes work when the song has a character, conflict, journey, or emotional change that viewers can follow. Pick one as the main language, then use the other sparingly for contrast.
A narrative does not need many locations. Two or three repeatable settings can feel more intentional than a new world every few seconds.
Add lyrics, captions, or performance-style elements
Lyrics can help viewers follow a new song, especially when they watch without sound. Keep lines readable, place them away from faces and important action, and time them to the vocal rather than the general beat. Performance elements can add a human focus when the video needs a clear central subject.
Use captions as part of the composition. Their position, size, and timing should belong to the scene instead of looking like an afterthought.
Keep recurring colors, subjects, and locations consistent
Choose a small set of recurring details, such as a red jacket, a blue-lit room, a particular vehicle, or one central character. Repeat them across the video and check whether the AI changes them without a reason. Consistency helps the viewer stay oriented even when the scenes are generated separately.
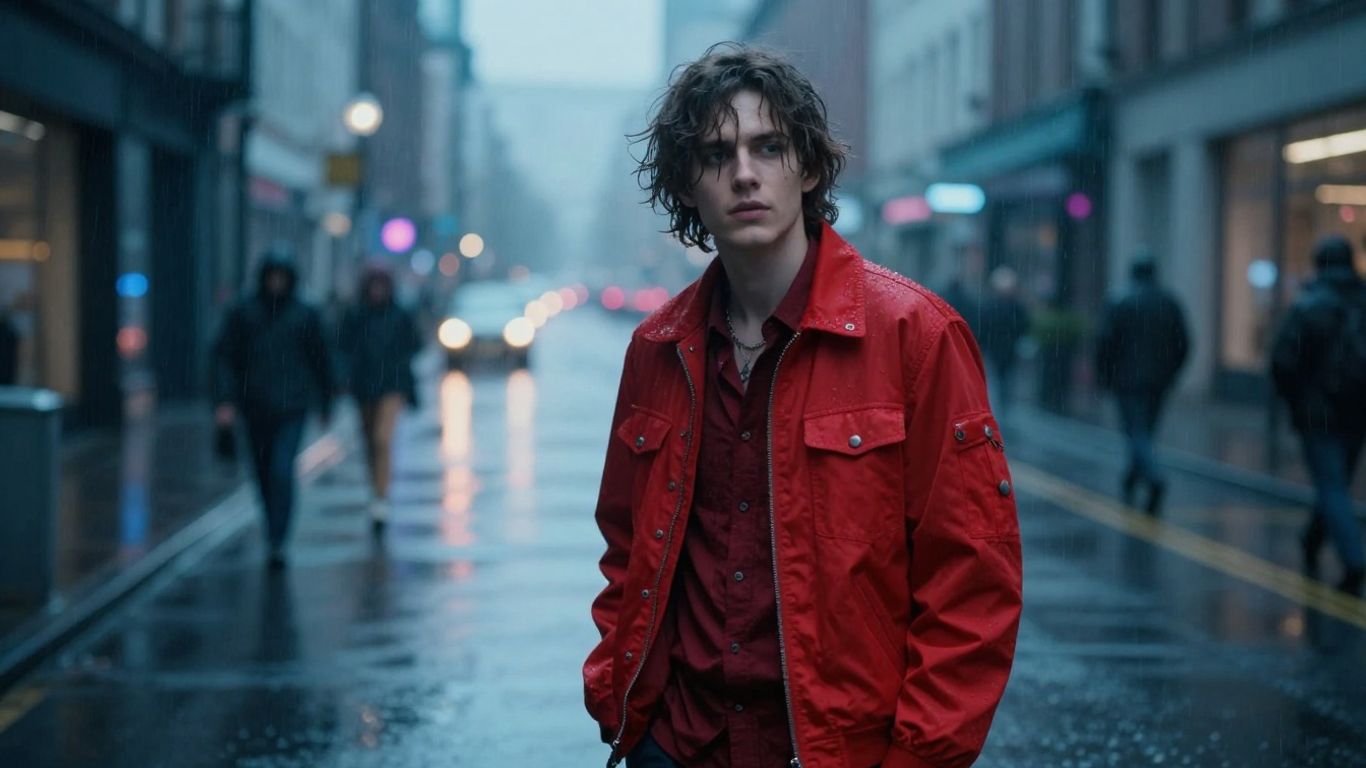
After the image sequence, compare the recurring details against your original direction. If one scene breaks the pattern, regenerate it or use a simpler transition rather than letting the inconsistency define the whole video.
Select the right video format for each platform
Aspect ratio changes how your subject, captions, and action fit inside the frame. Plan the main composition with the target platform in mind, then make alternate versions from the same song when needed. A horizontal master may not crop well into a vertical feed without moving the subject or rebuilding the layout.
Use 9:16 for TikTok, Reels, and Shorts
Vertical video gives you a tall frame for phones and short-form feeds. Keep faces and key action near the center, leave safe space for interface controls, and make the opening image readable at small size. This format suits direct performance shots, close-ups, and quick visual hooks.
Check the crop before export. A subject placed near the edge in a wide composition may disappear when the frame becomes vertical.
Use 1:1 for square social media posts
Square video offers a balanced frame for social feeds and can work well with a centered performer, a compact lyric layout, or a single strong visual. It gives you less vertical room than 9:16 and less width than 16:9, so keep the composition simple.
Use the square version when the post itself matters as much as the video. Make sure captions remain legible without relying on a wide background.
Use 16:9 for YouTube and standard video players
Horizontal video gives narrative scenes more room from side to side and works naturally in standard players. It suits location changes, group performances, and wider camera movement. Keep the main subject visible even if the player adds margins on some devices.
When publishing on YouTube, pair the video with a clear title, useful description, relevant tags, and a thumbnail that matches the song. This YouTube SEO guide covers those visibility basics.
Create platform-specific versions from the same song
Make a full version for long-form viewing, then cut shorter excerpts around the hook or a strong visual turn. Export each version at the correct aspect ratio instead of relying on an automatic crop. This approach lets one song support several release moments without making every post identical.
| Platform use | Suggested ratio | Visual priority | Typical edit choice |
|---|---|---|---|
| Short-form feeds | 9:16 | Face, hook, captions | Fast opening and tight crop |
| Square social posts | 1:1 | Centered subject | Balanced composition |
| Long-form video | 16:9 | Story and setting | Wider shots and full structure |
The table is a starting point, not a rule. Watch each export on the platform where it will appear, because interface elements and playback size can change how the composition feels.
Improve the result before you publish
The final review separates a usable draft from a video you can confidently share. Watch it once for the music and once for the images. Small corrections to timing, captions, or continuity often matter more than adding another visual effect.
Check timing between visuals and important musical moments
Play the video from the beginning and mark any visual change that arrives too early or late. Pay special attention to the first hook, chorus entrance, bridge, beat drop, and final note. If the visual rhythm ignores the arrangement, shorten or extend scenes before changing the entire concept.
Mute the video for a second review, then restore the audio. Each pass reveals a different kind of problem.
Remove distracting or inconsistent AI-generated details
Look for faces that change between shots, unstable hands, objects that appear and vanish, awkward motion, and backgrounds that shift without a story reason. You do not need to fix every minor artifact, but remove anything that pulls attention away from the song.
A simpler shot is often stronger than a busy shot with several visible errors. Regenerate only the weak section when the rest of the video is working.
Make the opening seconds clear and engaging
Show the central subject, mood, or visual question immediately. Do not spend the opening on an empty frame unless the silence and delay are deliberate parts of the song. A viewer should understand the video’s tone before deciding whether to keep watching.
Test the opening without context. If a short clip does not make sense on its own, add a more direct first image or begin closer to the musical hook.
Confirm audio quality, captions, branding, and export settings
Listen for clipping, unwanted silence, and a sudden change in volume. Check spelling and timing in captions, confirm that any artist name or logo is placed safely, and verify the aspect ratio and file type before export. Review rights and platform policies as part of your release process.
Use this final checklist before you publish:
- Play the exported file from start to finish.
- Check the opening on a phone-sized screen.
- Verify captions, names, and any required credits.
- Confirm the selected ratio and export quality.
Once those checks pass, upload the exact version intended for that platform. Keep the project files and original audio in case you need a later cut.
Choose an AI music video generator for your workflow
The right tool depends on whether you need one connected process or detailed control over individual shots. Compare the input formats, visual styles, aspect ratios, revision options, and export rules before you commit time to a project. A free tier can help you test the workflow, but inspect its limits before planning a full release.
Compare tools that generate songs and videos together
An all-in-one tool is useful when you want to move from a text idea to a song with vocals and then into synchronized visuals without switching apps. The Creatus AI Music Video Generator is documented as a two-in-one tool for text-to-song generation with AI singing vocals and audio-to-music-video production. That matches a workflow where speed and fewer handoffs matter most.
Read the product terms for credits, ownership, commercial rights, and watermark removal before publishing paid work. A short test project can reveal more than a feature list.
Use separate tools when you need advanced video control
Separate tools may suit you when you need detailed shot planning, a timeline, custom assets, or manual control over individual scenes. You will need to move audio and visual files between steps, so keep naming and version control tidy. This route can take longer, but it may fit a project with a tightly directed visual concept.
Choose based on the kind of control you actually need. More controls are not automatically useful if they slow down a simple release.
Evaluate free tiers, paid plans, and export limitations
Check how many generations you receive, whether exports carry watermarks, and which resolutions or formats are restricted. Also look for expiration rules, credit costs, and commercial-use terms. A low entry price may not be the lowest total cost if you need many revisions.
Use smarter shopping habits here: compare the full workflow cost, read the plan details, and avoid choosing only from a headline price.
Check whether the tool supports your audio formats and platforms
Confirm that your source file is accepted before you build the project around it. MP3 and WAV support covers many common workflows, while output options such as 9:16, 1:1, and 16:9 help you prepare versions for different screens. Also check whether captions, characters, visual styles, and downloads match your publishing plan.
For a useful external comparison point, music video formats shows how audio-driven video workflows can be planned around portrait, square, landscape, and short-form publishing needs.
Conclusion
To generate videos for your songs, start with a clear audio source, define a visual direction, and let the song’s structure guide the scenes. Review the first render carefully, create the right aspect ratios, and fix timing or continuity before you publish. When you want a direct path from a text idea or uploaded track to a shareable video, you can start creating and test the workflow with your next song.
Frequently Asked Questions
Can you generate a music video from an existing song?
Yes. Many AI video workflows accept an existing MP3 or WAV file, analyze qualities such as tempo and energy, and create visuals that follow the audio.
Can AI create the song and the video together?
Some tools support both stages. You provide a text idea, lyrics, or description, receive a song with AI-generated vocals, and then use that audio as the source for the video.
What should you include in a music video prompt?
Describe the genre, mood, tempo, setting, subject, color palette, camera feel, and visual style. Add concrete actions or objects when you want the scenes to feel connected to the lyrics.
Which music video format works best for TikTok?
A 9:16 vertical video generally fits TikTok, Reels, and Shorts. Keep the main subject near the center and check that captions do not sit beneath platform controls.
Should you make a lyric video or a narrative video?
Choose a lyric video when the words need to lead the experience. Choose a narrative video when the song suggests characters, events, or an emotional journey that viewers can follow.
How do you keep AI-generated scenes consistent?
Repeat key subjects, colors, locations, and wardrobe details across your prompts. Review each scene for changes in faces, objects, lighting, and backgrounds before assembling the final cut.
What should you check before publishing an AI music video?
Watch the full export with sound, check sync at the hook and chorus, review captions and branding, inspect visual artifacts, confirm the aspect ratio, and verify the rights and platform requirements for your release.