Key Takeaways
This guide explains how to generate custom music videos from your audio assets. Use these steps to streamline your production.
- Start with high-quality source audio files for the best final results.
- Choose visual styles that match the energy and mood of your track.
- Match your video aspect ratio to the intended platform requirements.
- Use iterative loops to refine specific segments of your generated content.
- Export files in formats that maintain clarity for your audience.
Understanding the basics of AI-generated music videos
Modern tools change how creators work with media. You no longer need thousands of dollars to express your musical vision visually. High-speed models now bridge the gap between abstract sound and concrete visual storytelling through advanced pattern recognition.
The role of AI in modern music visualization
Artificial intelligence acts as a digital director that maps sound waves to pixel movement. When you use tools like Transform your music, the system evaluates tension points and frequency shifts within the audio. This creates a synchronized visual response that feels intentional rather than random.
Why WAV files are preferred for high-fidelity processing
Compressed files often lose data frequencies that influence how a generator identifies rhythm. A WAV file maintains the integrity of the original recording. This ensures that the engine detects every snap and kick, providing the precise data needed for accurate visual mapping.
Comparing all-in-one AI workflows versus manual editing tools
Traditional methods require a timeline, software suites, and significant manual adjustment. Newer platforms streamline this by handling generation and assembly in one workspace. For instance, freebeat AI automates the shot lists, while Neural Frames offers granular control for artists who prioritize specific visual outputs over automated flow.
Preparing your WAV file for AI processing
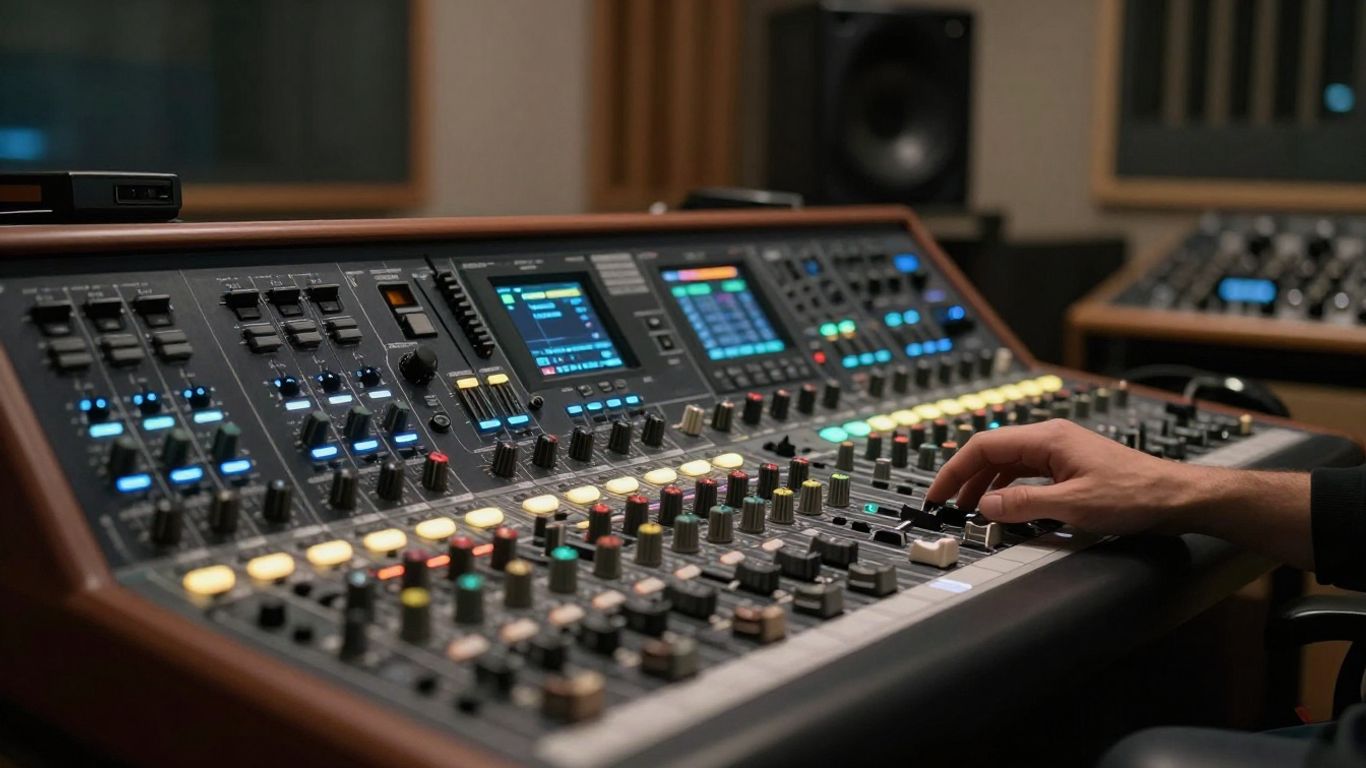
Consistency matters when you prepare your files. Sudden jumps in volume can confuse an algorithm during analysis, leading to erratic visual changes. You want a steady stream of consistent signal to help the AI maintain focus on your track structure.
Ensuring audio clarity and consistent loudness levels
Focus on minimizing background noise before uploading. Clean input signals allow the AI to isolate percussive elements correctly. Removing unnecessary noise artifacts will make your output look cleaner and more professional.
Guidelines for file duration and optimal track structure
Divide your long sets into shorter, manageable segments. Most generators perform better when working on three-to-five minute clips. If your project exceeds this, consider these steps:
- Normalize the audio gain to -3dB for consistent input volume.
- Apply a high-pass filter to remove low-end rumble.
- Segment your long audio track into logical sections.
- Ensure the file sample rate is at least 44.1kHz.
After you finish these steps, check your file integrity before attempting an upload. Having a structured audio file prevents common errors in the final render.
Troubleshooting common audio upload limitations
Errors during upload usually occur due to file size or encoding headers. Ensure your WAV file adheres to standard encoding parameters. If the upload hangs, check your internet connectivity or try re-exporting the file without extra metadata headers.
Uploading and analyzing your audio input
Once the audio is ready, you move to the interface for processing. The generator will scan your file to build an internal map of peaks and valleys. This process is the core stage where raw data turns into visual potential.
Navigating the AI generator dashboard for file imports
Accessing your files through the cloud allows for fast processing without overloading your local hardware. Most dashboards organize libraries by project, keeping your draft versions separate from final exports. Creatus.AI offers a straightforward space where you can manage both song creation and video production workflows in one login.
How AI tools interpret beat, tempo, and mood
Systems use multi-layered models to parse information. They distinguish between low-frequency impacts and high-frequency melodies to decide when to cut scenes or shift lighting. You might find that Plazmapunk provides excellent scene editors to adjust these interpretations if the initial sync feels slightly off.
Managing file size and format compatibility settings
| Setting Category | Recommended Value | Purpose |
|---|---|---|
| Bit Depth | 16-bit or 24-bit | Preserves detail |
| Sample Rate | 44.1kHz – 48kHz | Standard compatibility |
| File Format | WAV | Uncompressed quality |
Checking these settings keeps your generation stable. If your file is outside these values, the AI may interpret the data incorrectly, resulting in audio-visual lag.
Configuring visual styles to match your music
Visual aesthetics define how your audience perceives the emotional core of your music. You want elements that feel organic to the genre you chose. Modern engines allow you to influence the output quality by defining your initial parameters through clear, descriptive inputs.
Selecting visual aesthetics that complement specific genres
An aggressive industrial track requires sharp, glitchy visuals with fast cuts. Conversely, a soft lo-fi piece benefits from slow, flowing gradients and warm tones. Use the stylistic presets available to maintain a professional look throughout your media.
Using prompts to influence narrative and artistic direction
Prompts act as the guiding hand for your video. When you describe the scene, focus on lighting, texture, and motion styles. Using detailed descriptive language inside the generator improves the consistency of the aesthetic.
Adjusting synchronization settings for peak impact
Synchronization settings let you dictate how tightly the visuals follow the beat. You can choose to trigger transitions strictly on the bass hits or let the visuals flow more naturally across phrasing. Keep these settings balanced, as extreme snap-to-beat values can sometimes strain the eyes.
Exporting for social media and streaming platforms
Platforms have distinct requirements for how they ingest data. A vertical video for mobile requires different orientation than a standard horizontal clip. Adjust your export settings early so your final product fits the intended screen format perfectly.
Choosing the correct aspect ratio for TikTok, Reels, and YouTube
TikTok and Reels demand a 9:16 vertical ratio for the best visibility. YouTube allows for a flexible 16:9 approach. Choosing 1:1 works well for platform feeds where you want a balanced look that resists clipping during display cycles.
Understanding resolution requirements for professional output
Exporting at 1080p is usually the sweet spot for balance and quality. While 4K provides extra detail, it often exceeds what social media platforms allow during transmission. Stick to resolutions that align with your distribution channel’s current standards.
Refining your final export for minimal compression loss
Platforms re-compress files upon upload, which can cause artifacts in dark scenes. Use high bitrate settings for your export to buffer against this loss. If you handle Pictory Audio to Video files or similar outputs, ensure the final file type is compatible with your sharing software.
Managing and iterating on your AI video projects
Rarely does a generation appear perfect on the first attempt. Successful results come from small adjustments to your prompts and sensitivity inputs. Treating the process as an iterative task allows you to achieve the exact aesthetic you wanted from the start.
Why one-click generation often requires multiple iterations
AI is probabilistic, meaning it produces variations each time you run a generation. You might need to adjust your tempo settings or scene inputs to hit the mark. This flexibility is a strength, as it presents options you may not have considered otherwise.
Integrating your music video with your broader creative workflow
Creatus.AI provides a robust toolkit for creators who manage multiple media formats. Incorporating your video into your larger plan is simpler when your content generation exists within one platform environment. Using consistent branding and aesthetic keys helps keep your public presence coherent.
Understanding licensing and usage rights for AI-generated content
Always ensure you understand the terms of use for the tools you occupy. Most professional-grade generators provide clear ownership of your output. As part of a larger ecosystem, Creatus.AI ensures you retain control while respecting the underlying machine learning models.
Conclusion
Mastering how to create ai music video from wav file opens new doors for your creative output. Through methodical preparation and iterative testing, you can produce visual content that stands out across audio and social channels alike.
Frequently Asked Questions
Can I upload MP3 files instead of WAV files?
Most tools accept MP3s, but WAV is better because it contains more uncompressed data for the AI to interpret during rhythm mapping.
Does the generator know the lyrics of my song?
Some advanced models analyze lyrical content, but most audio-reactive tools primarily focus on rhythm, tempo, and intensity to generate movement.
How do I correct flashing visuals in my video?
If your video flashes too rapidly, look for settings related to scene transition sensitivity or beat threshold and lower those values.
Can I change characters mid-video?
This typically requires manual intervention or using a tool that separates generation into scenes where you can instruct different prompts for specific timestamps.
Do I need a powerful computer to generate these videos?
No, as most modern AI platforms run the heavy processing in the cloud, allowing you to create high-quality videos on standard devices.
Will the AI remove the music from my track?
No, the AI uses your original music as the primary reference point to sync visuals, so your song remains audio-intact in the output file.
How long should an AI-generated music video take to finish?
Small snippets can take mere minutes, while longer tracks with complex stylistic prompts may take additional time for the system to render every frame accurately.
Start Your Creative Journey
Ready to produce your next music video without the usual production headaches? Experiment with the tools at Creatus.AI to see how quickly you can turn your audio into engaging visual content for your fans today.